SQLite Upsert Configuration
Version 22.0.8473
Version 22.0.8473
SQLite Upsert Configuration
The Upsert action inserts or updates SQLite data. By default, if a record already exists in SQLite, an update is performed on the existing data in SQLite using the values provided from the input.
Tables and Columns
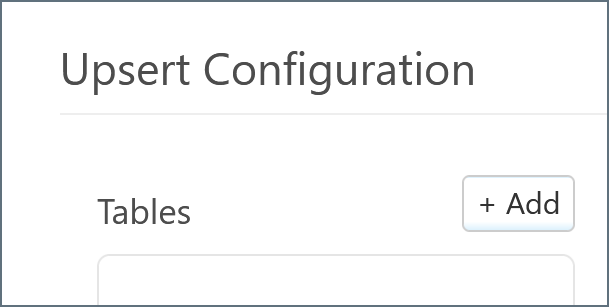
If you choose Upsert for the SQLite connector, you must select a target table (or tables) from SQLite. Click the + Add button above the Tables pane.
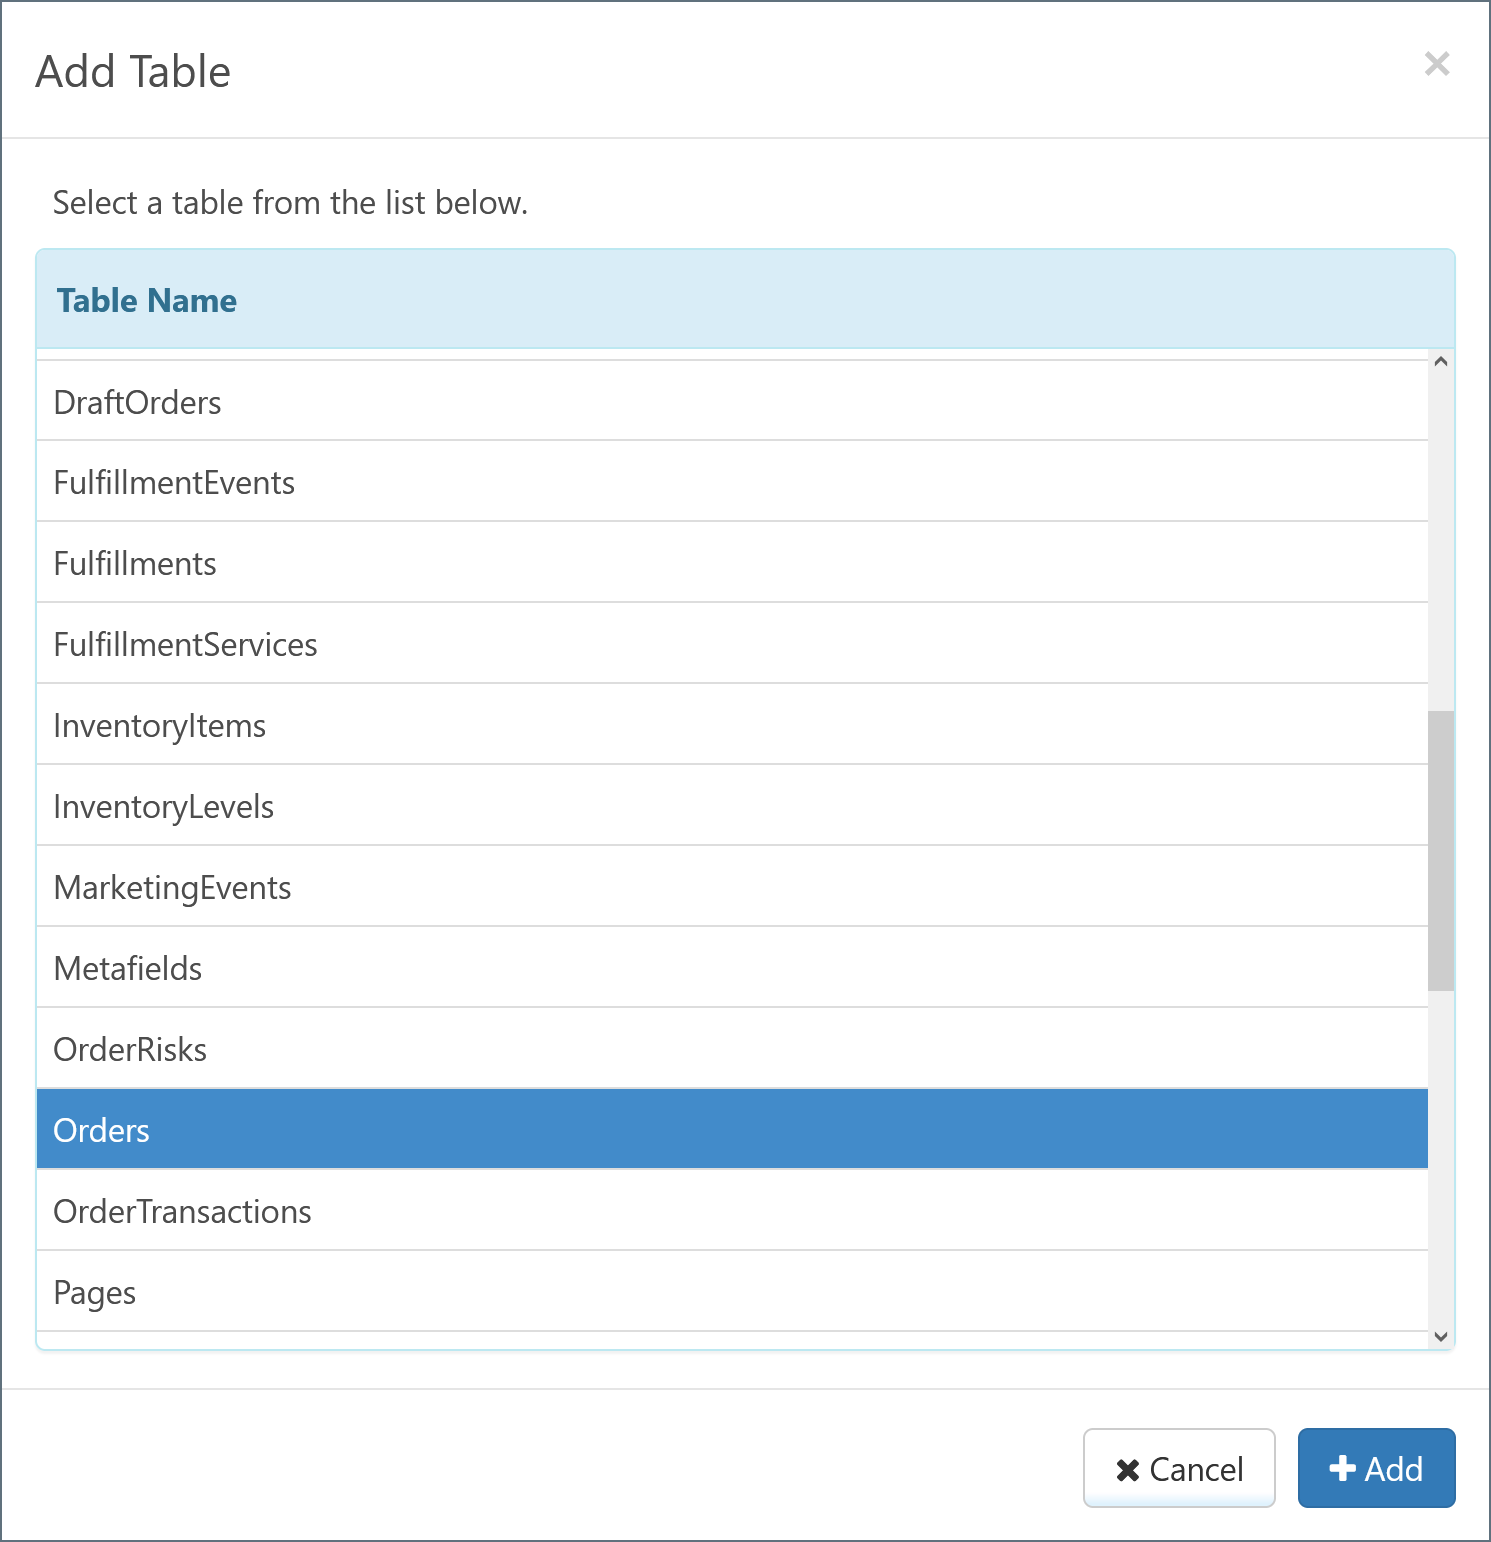
A modal appears and lists all available tables. Select the desired table and click + Add.
The chosen table appears under the Tables pane, and the columns in the table appear under the Columns pane. The connector automatically detects values that have special relevance (for example, the primary key and foreign keys) and labels them accordingly.
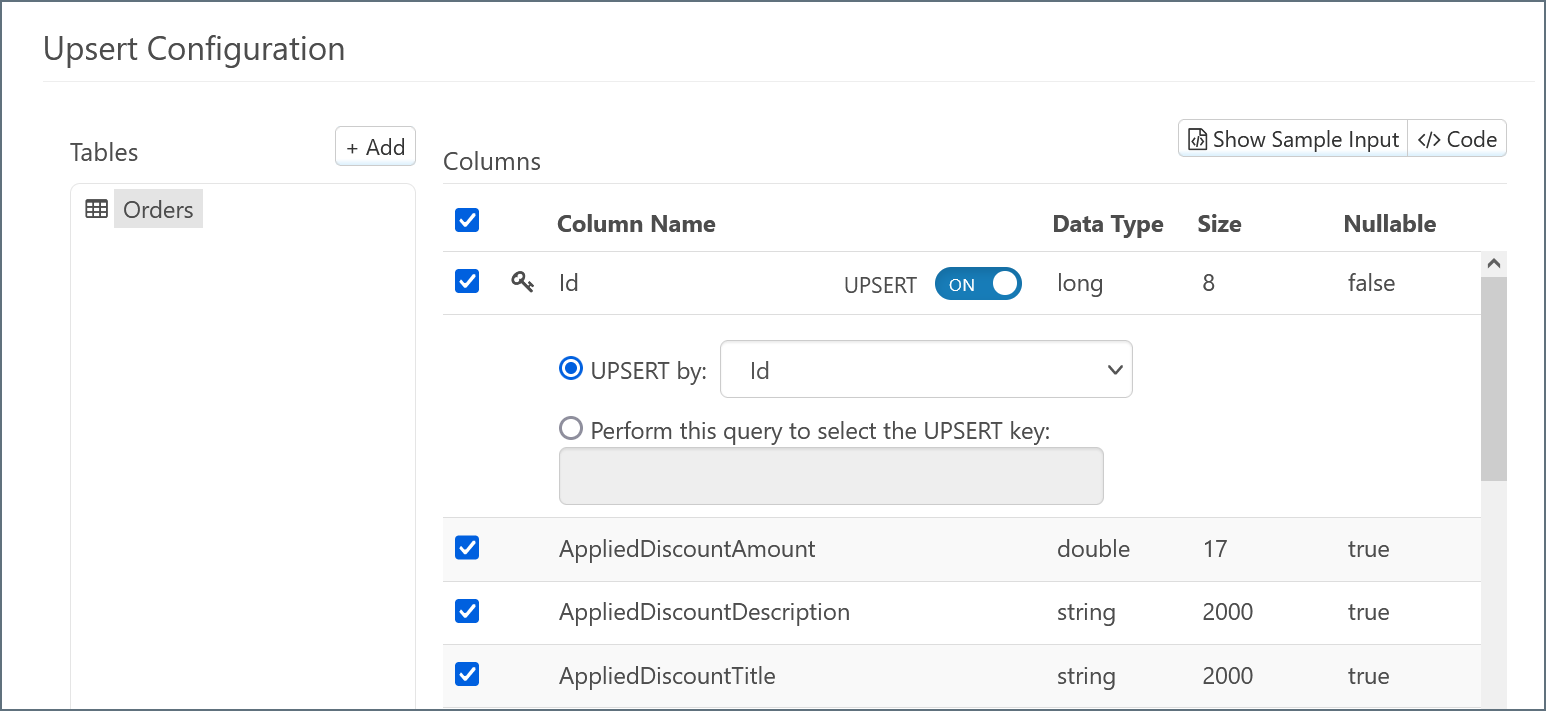
By default, all of the columns are selected for inclusion in the action for the SQLite connector. You can exclude individual columns by un-checking them.
Note: You can select more tables by clicking + Add and repeating this process. See Child Tables for more information.
Example Arc Flow
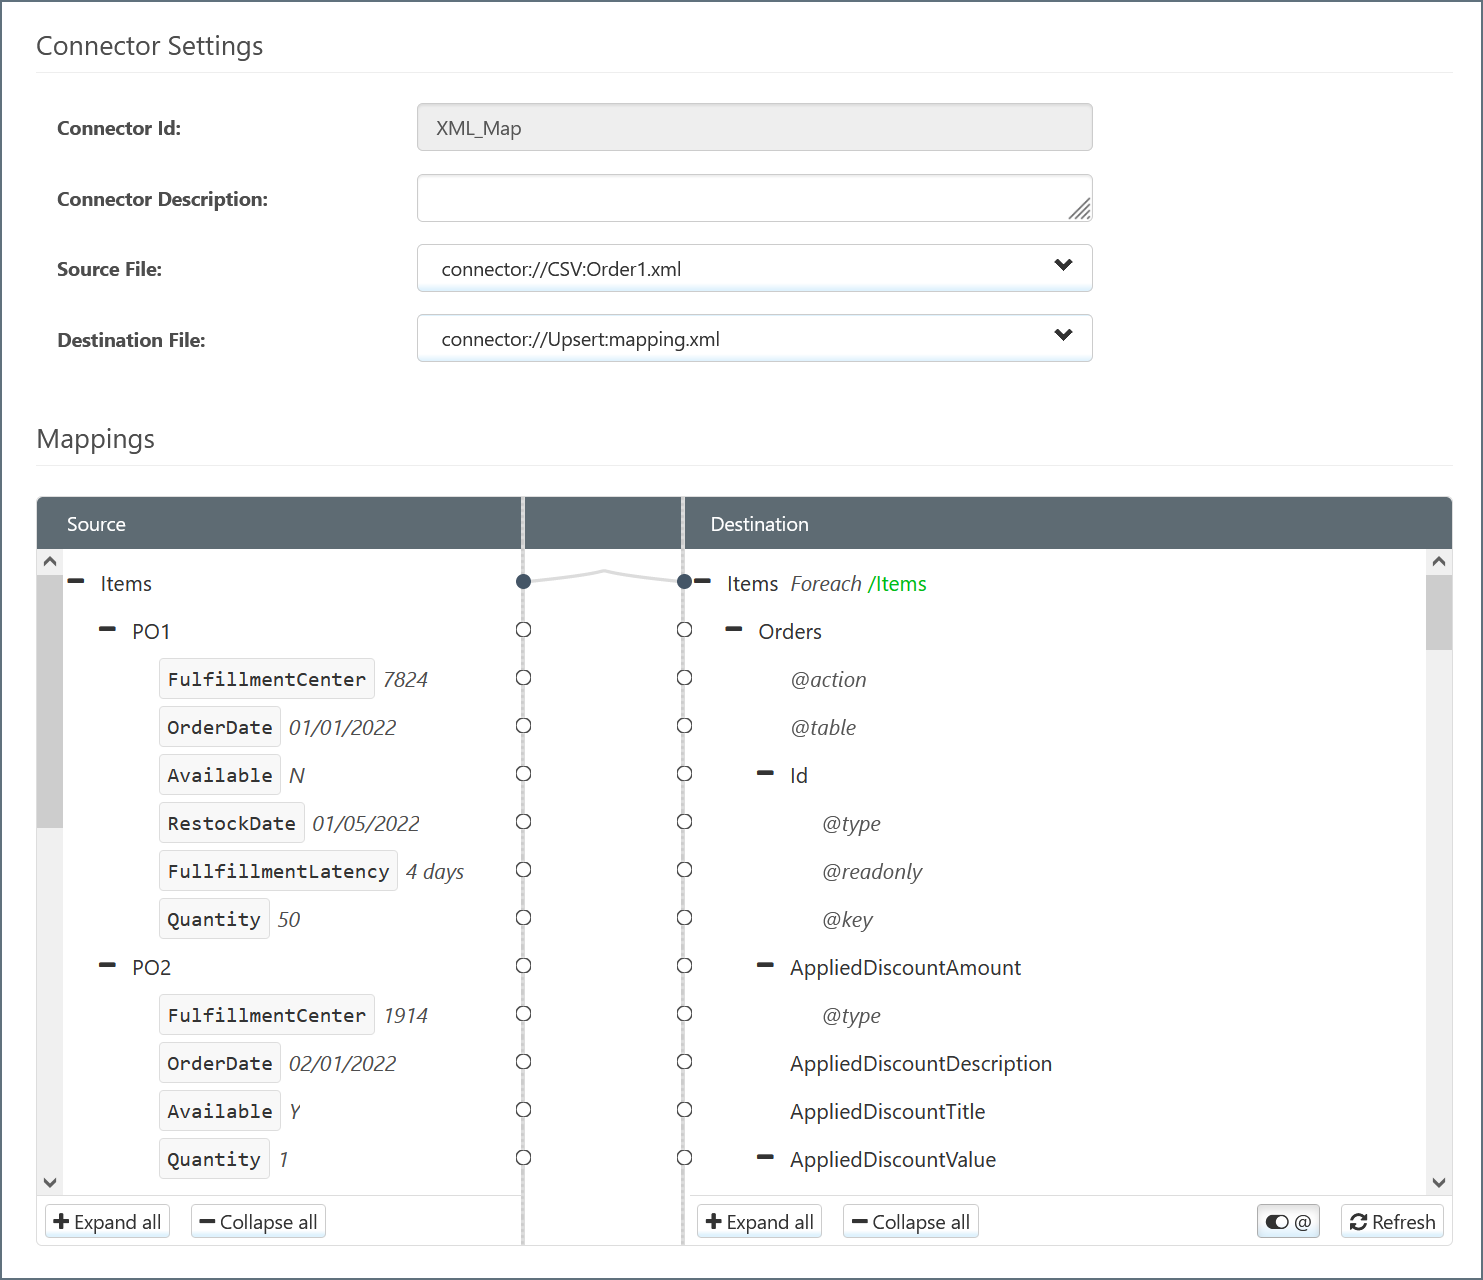
After you choose the tables and columns for the Upsert-configured SQLite connector, place the connector at the end of an Arc flow. The screenshot below depicts an example flow with a CSV connector, an XML Map connector, and a SQLite Upsert connector at the end:

Data in this example flow passes through these steps:
-
The CSV1 connector supplies a CSV file that contains data.
-
This data passes to the XML_Map connector as the Source File, which maps to the Source tree.
-
Data from the SQLite_Upsert connector passes to the XML_Map connector as the Destination File, which maps to the Destination tree.
-
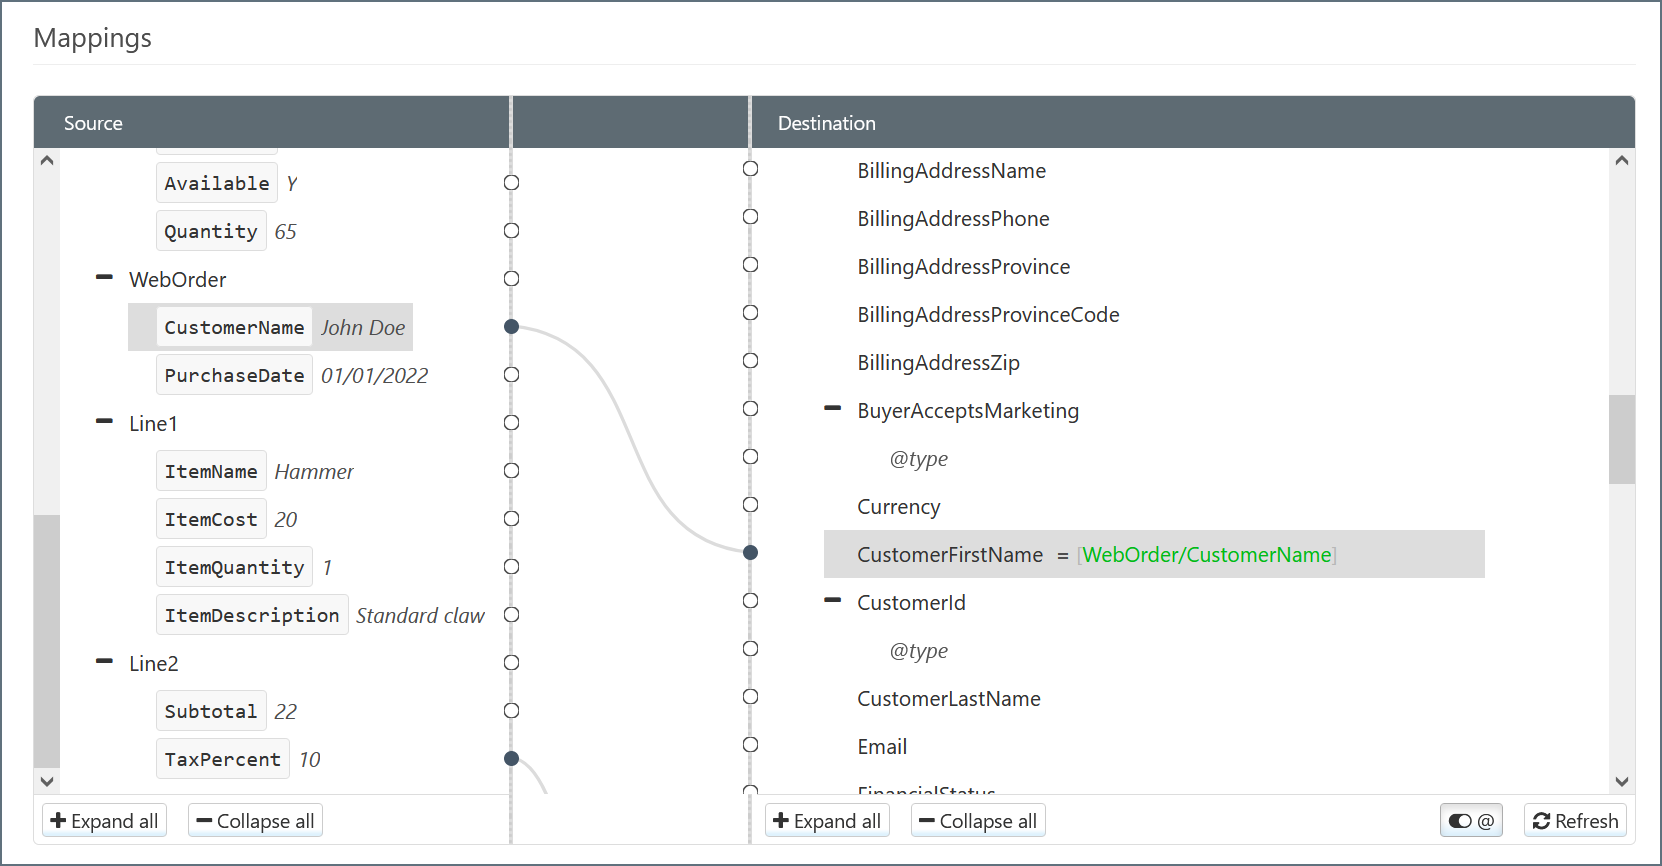
The XML_Map connector attempts to automatically map Source elements to Destination elements with the same name. You can manually change these and fill in blank mappings by dragging elements from Source to Destination.
-
The SQLite_Upsert connector performs the Upsert according to the mapping and passes the resulting data to SQLite.