Form Connector
Version 22.0.8473
Version 22.0.8473
Form Connector
Form Connectors expose a public web endpoint where clients can fill out a form and submit that data into a CData Arc flow.
Forms are created from the Form Connector configuration panel. A form is divided into sections and details, each of which can have a variable number of Form fields. For more details, see Creating Forms.
When you use a Form Connector to submit new data, you should place the connector at the start of a connected flow. Clients can connect to the web endpoint, view and fill out the form, and submit this data into the configured Arc flow. For more details, see Submitting New Form Data.
The following sections explain how to configure your Form Connector, create forms, and submit new form data.
Configuring the Form Connector
The following sections explain how to configure the Form Connector by using the various settings on the Form Connector tabs.
Settings Tab
The Settings tab contains five categories of settings: Connector Settings, Form Designer, Message, Logging, and Miscellaneous. The settings for these categories are explained in the following sections.
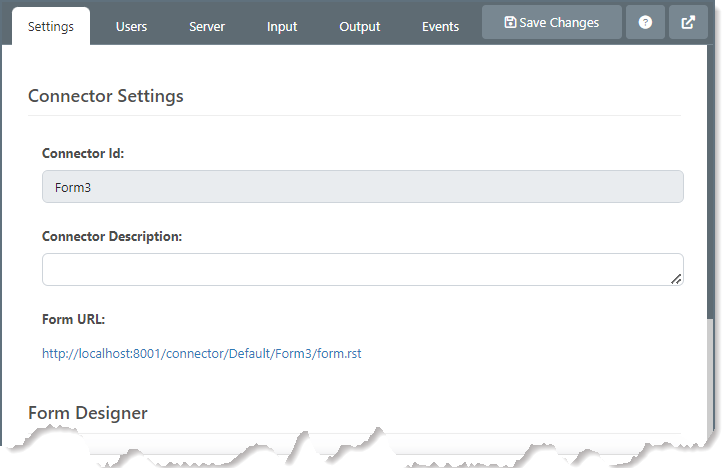
Connector Settings
Connector settings are related to the core operation of the connector.
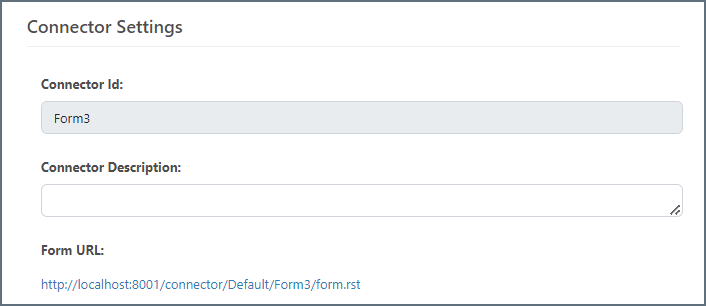
The settings in this category are as follows:
- Connector Id The static name of the connector. All connector-specific files are held in a folder by the same name within the Data Directory.
- Connector Description An optional field to provide free-form description of the connector and its role in the flow.
- Form URL The public endpoint/URL where clients can access your web form, fill out form fields, and submit the data to Arc.
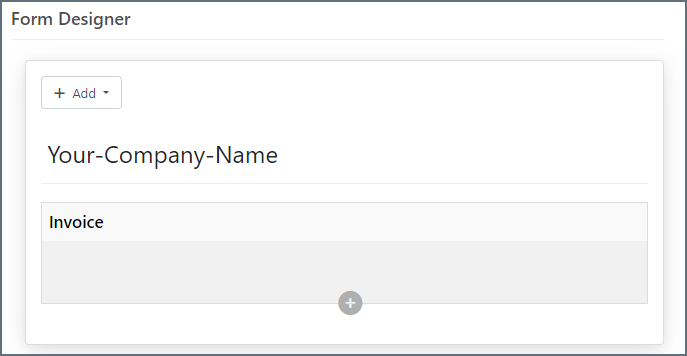
Form Designer
The Form Designer supports building a set of form fields that are organized by sections and details.
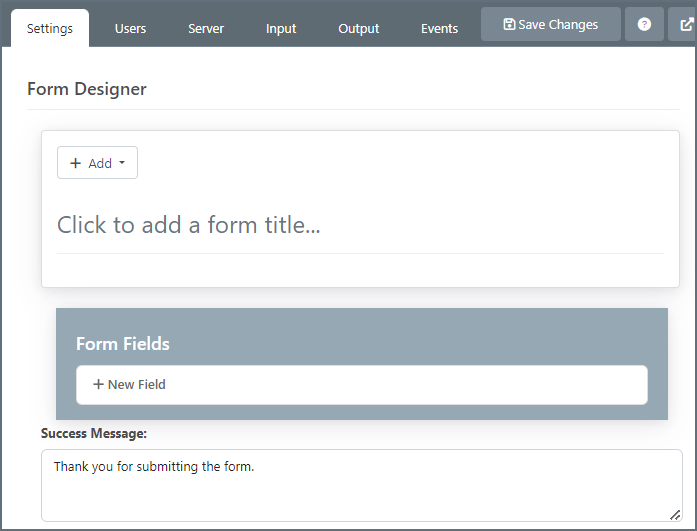
When clients connect to the configured endpoint and submit a form, they see the field that is laid out exactly as it is configured in this panel.
The Form Designer contains the following settings:
-
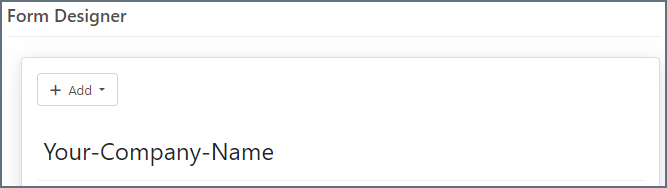
Click to add a form title - This text box enables you to add a title to your form (for example, your company name).
-
Add - This button enables you to add a section or a field. When you click the button, select which item you want to add.
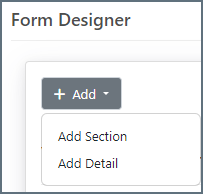
The Add Section option enables you to add specific sections to a form. The Add Detail option enables you to add as many instances of a detail as you need for your data set.
-
Form Fields - This section enables you to create fields that you can drag and drop into a detail or into a section.
-
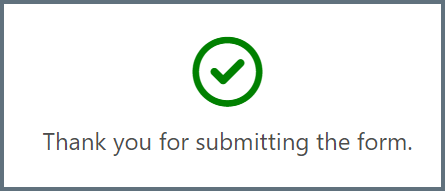
Success Message - This text box displays a confirmation message that users see after they submit form data successfully. The image below shows the default message that a user sees. You can change that message or add additional text to the message in the Success Message text box.
For more details about how to create a form using these settings, see Creating Forms.
Message
Settings that determine how the connector will search for messages and handle them after processing.
- Save to Sent Folder A toggle that instructs the connector to keep a copy of sent messages in the Sent folder.
- Sent Folder Scheme Instructs the connector to group files in the Sent folder according to the selected interval. For example, the Weekly option instructs the connector to create a new subfolder each week and store all sent files for the week in that folder. The blank setting tells the connector to save all files directly in the Sent folder. For connectors that process many transactions, using subfolders can help keep files organized and improve performance.
Logging
Logging settings enable you to set logging levels, choose a log subfolder schema, and choose whether to maintain a copy of the messages that are next to the logs or that are in the Logs folder.
The settings for this section are as follows:
- Log Level Specifies the type of information to log in the connector’s Logs directory:
- None — Does not create any logs.
- Error — Creates logs only when the connector encounters an error.
- Warning — Creates logs only when the connector issues a warning.
- Info — Logs general information about the workflow, including any errors and warnings (if applicable).
- Debug — Logs detailed debugging information for both successful and failed workflows.
- Trace — Logs detailed trace information for both successful and failed workflows.
Please note that Debug and Trace may log sensitive information including message contents and SSL certificates. Although connection properties (such as passwords) are masked, please review logs of this level for sensitive information before sharing them outside of your organization.
- Log Subfolder Scheme Instructs the connector to group files in the Logs folder according to the selected interval. For example, the Weekly option instructs the connector to create a new subfolder each week and store all logs for the week in that folder. The blank setting tells the connector to save all logs directly in the Logs folder. For connectors that process many transactions, using subfolders can help keep logs organized and improve performance.
- Log Messages A toggle that instructs the connector to save a copy of the most recent message in the Logs directory. Note that the connector only keeps one message per subfolder, and the connector overrides the previously-saved message when it runs again.
Miscellaneous
Settings for specific use cases.
- Other Settings Allows configuration of hidden connector settings in a semicolon-separated list, like
setting1=value1;setting2=value2. Normal connector use cases and functionality should not require use of these settings.
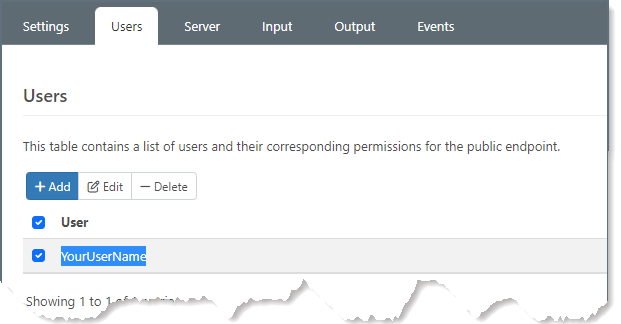
Users Tab
The Users tab enables you to create user credentials for clients so that they can access the public endpoint. If a client is not logged into the application administration console already, that client is prompted to enter the User and Password combination when they browse to the endpoint.
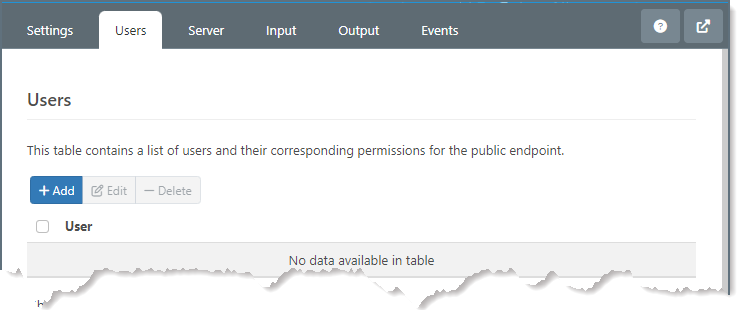
You can add, edit, and delete credentials on this tab.
Adding Credentials
To add user credentials:
-
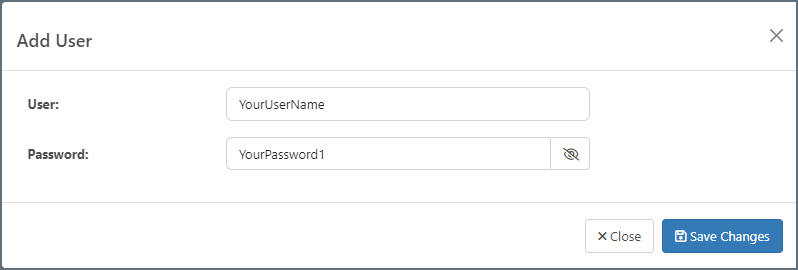
Click Add to open the Add User dialog box.
-
Enter a username and password.
-
Click Save Changes and the credentials are displayed in the User section.
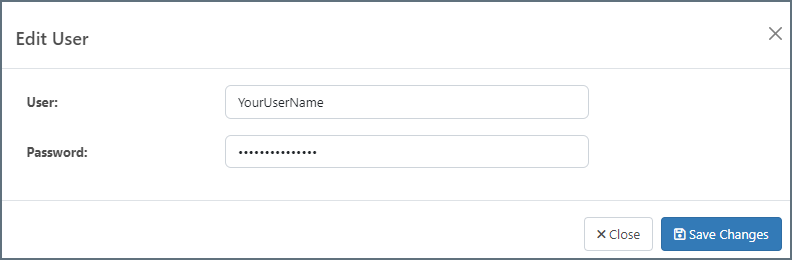
Editing Credentials
To edit existing credentials:
-
Select the checkbox next to the username for the credentials that you want to edit. Selecting the user enables the Edit button.

-
Click Edit to open the Edit User dialog box.
-
Edit the credentials and click Save Changes. If you decide not to make changes, click Close to exit the dialog box.
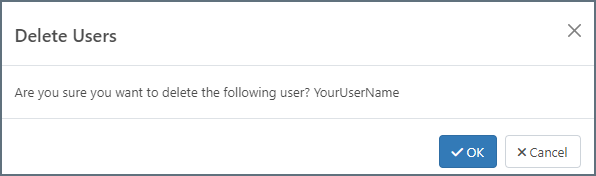
Deleting Credentials
To delete existing credentials:
-
Select the checkbox next to the username for the credentials that you want to delete. Selecting the user enables the Delete button.
-
Click OK to delete the credentials or click Cancel to cancel the deletion request.
Configuring the IIS Server
If your Arc instance is hosted on an IIS server and you use Microsoft Windows authentication to login to the application, you must disable the Windows authentication for your users. Otherwise, the Form connector cannot properly authenticate users, and the connector will not work properly.
To disable Windows authentication:
-
In your IIS manager, create a new folder named
connectorin the base application path. -
Select Authentication under IIS (in the left pane) for the
connectorfolder.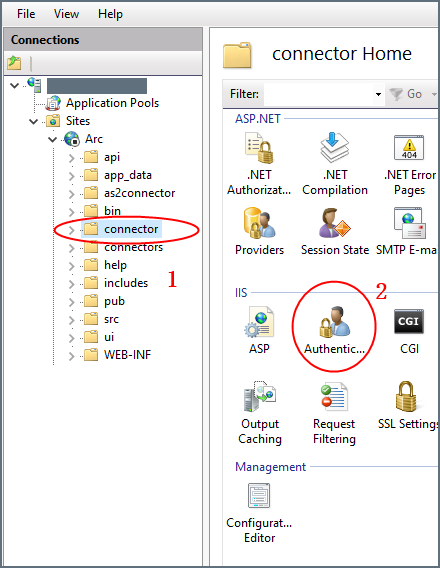
-
Set Windows Authentication to Disabled for this folder.

Server Tab
Trusted IP Addresses
This section defines the IP addresses that are allowed to make connections. The following functions are available:
- Add Opens a modal to enter a new IP address range.
- Edit Opens a modal to modify the selected IP address range.
- Delete Deletes the selected IP address range from the list.
The following restrictions apply to this feature:
localhostcannot be modified or removed from the list.- Any IP addresses outside of the defined ranges will be rejected.
- Ranges are supported. For example, the entry
100.10.100.1-15indicates that IP addresses between100.10.100.1and100.10.100.15are allowed. - CIDR notation is supported. For example, the entry
100.10.100.0/24indicates that IP addresses between100.10.100.0and100.10.100.255are allowed. - Wildcard patterns are supported. For example, the entry
100.10.100.*indicates that IP addresses beginning with100.10.100are allowed.
Creating Forms
A form can have fields, sections, and details:
-
Field - An input box with a label where users enter form data.
-
Section - A heading that groups fields together.
-
Detail - A section that might repeat a variable a number of times.
Adding Fields
Fields are the basic unit of input for the form.
To add a field:
-
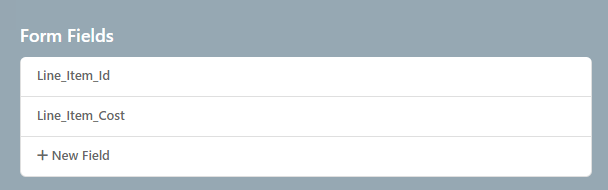
Click New Field.
-
Enter a field name (for example, Line Item Id) in the text field and press Enter. Once you complete this step, the new field appears in the Form Fields box.
-
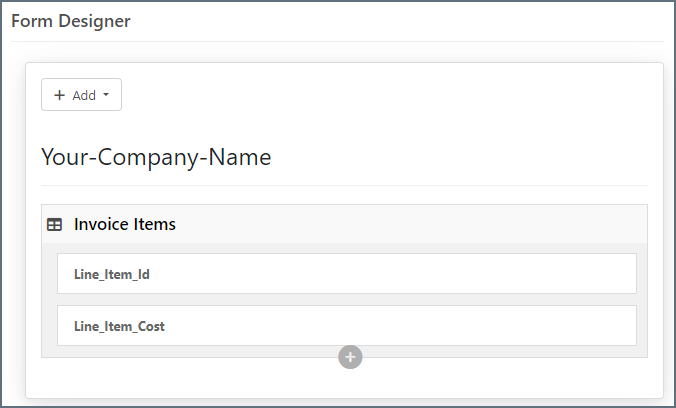
Drag and drop the fields that you want into a Details or Section box. The following example illustrates moving the field into the Details 0box:
Notes:
-
You need to click the plus sign (+) to open a row for each new field that you want to drag to the details box. Each row can hold two fields.
-
You can drag and drop fields in the Form Designer to customize the layout of your form.
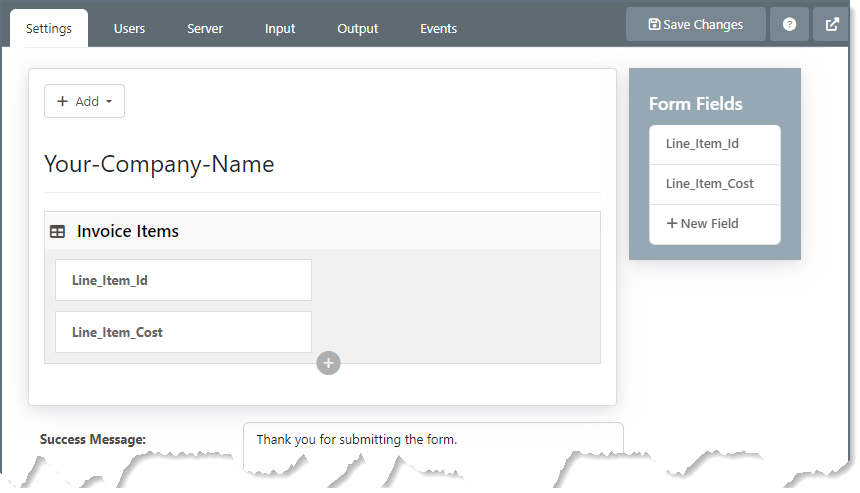
-
The Form Fields box appears in line with the other categories on the pane if your pane is set to the default size. However, if you expand your pane, that box becomes smaller and is attached to the right side of the pane, as shown below.
-
Adding Sections
Sections divide fields in the form by categorizing them under a heading. For example, the Ship To section might contain fields like Address, City, and Zip.
Sections are not required in order to add fields to the form. However, sections provide logical groupings of items that help users quickly understand the form. You can expand a section to make room for more fields by clicking the + button.
To add a section:
-
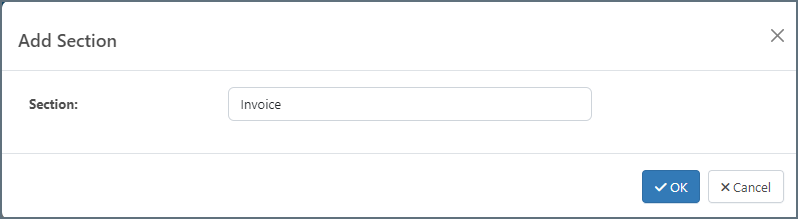
Enter a section name in the Add Section dialog box (in the Form Designer), as shown in this example:
-
Click OK and the new section appears in the Form Designer.
Note: You can drag and drop sections in the Form Designer to customize the layout of your form.
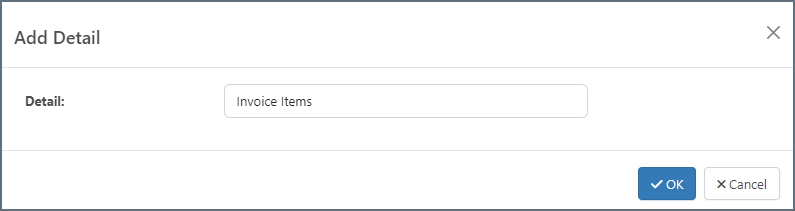
Adding Details
You should use details when some set of the form fields will be repeated a variable number of times. For example, you might want to have a variable number of line items as part of a purchase order or a variable number of addresses for a customer. That way, when users fill out a form, they can add as many instances of a detail as is required for their particular data set. So, if a user needs to submit purchase-order data with three line items, they can add two line-item details to the initial detail and fill each one out with data from a specific line item.
To add a detail to your form:
-
Enter a detail name in the Add Detail dialog box, as shown in this example:
-
Click OK and the new detail appears in the Form Designer.

Accessing Your Form
When you finish designing your form, you can access it by clicking the link under Form URL (in Connection Setting on the Settings tab). The following form is a simple example:

Submitting New Form Data
After you create a form in the Form Editor, users access the Form Connector’s web endpoint and submit data via the form.
For fields in the main form, users simply enter the values that correspond to the labels on the form (which are taken from the name of the fields that you drag into the Form Designer).
Users can add more detail rows by clicking the + button. Once a user enters all their data, they simply click Submit to submit their data.
Note: The Form Connector does not function in the endpoint-only application.
After a user submits the form, the form data is pushed to the Receive folder that is available on the Form connector’s Output tab. The output is an XML file that contains the following structure:
<Items>
  <FormTitle>
    <FieldA>data</FieldA>
    <FieldB>more data</FieldB>
    <FieldC>even more data</FieldC>
    <DetailTitle>
      <SubFieldA>123</SubFieldA>
      <SubFieldB>456</SubFieldB>
    </DetailTitle>
    <DetailTitle>
      <SubFieldA>135</SubFieldA>
      <SubFieldB>246</SubFieldB>
    </DetailTitle>
  </FormTitle>
</Items>
This output is well suited to being processed by an XML Map Connector so that it can be mapped into an XML format that is usable by another connector.