Logs and History
Version 23.4.8843
Version 23.4.8843
Logs and History
The CData Sync application maintains a job-history table containing the results of every job that is executed. In addition to the job history, the execution details of a job are logged to multiple files. You can configure these logs to various levels of verbosity as described in Enabling Logging below. The level of verbosity can be helpful in tracking connectivity errors or troubleshooting other problems in job execution.
The following sections explain how to enable logging, view your job history, download job logs, and archive logs.
Enabling Logging
To enable logging:
-
Click the job for which you want to enable logging. This action opens the Jobs/YourJobName page.
-
Click the Overview tab. In the Settings category, click the edit icon (shown in the red square below). (For additional help, click the documentation icon that is shown in the blue square.)

-
Enter a schema in the Destination Schema field.
-
Select the verbosity level that you want from the Logfile Verbosity list. Setting this property determines the amount of information that is included in logs for a job. The following verbosity levels are available:
Verbosity Level Logged Information None Specifies that logs are not recorded for this job. Error Logs the query, the number of rows returned by the query, the start and end of execution, and any errors. Info Logs everything at the Error log level as well as the timing of HTTP requests and responses and information and warnings on the replication process. Info is the default verbosity level for jobs. Transfer Logs everything at the Info log level as well as the headers and transfer data of HTTP requests and responses. Verbose Logs everything at the Transfer log level as well as the log-replication details and communications with the destination that might be helpful in troubleshooting problems. Setting the verbosity level to Transfer or Verbose exposes the raw data that is transferred between the source applications and the destination database. Although connection properties (such as passwords) are masked, you should review logs at this level for sensitive information before you share them outside of your organization.
-
Select Enable under Parallel Processing if you want to run multiple tasks within the job in parallel.
-
Click Save to apply the settings.
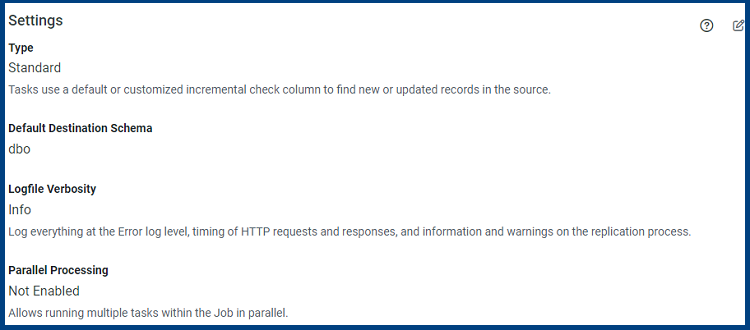
After you save your logging configuration, the Settings category on the Overview tab displays the settings that you defined, as shown in the example below.
Viewing the Job History
After each attempt of a job run, Sync adds an entry into the Job History table that contains the results of the run. Click the Job History tab to view previous history of a job. Expanding a row in the table displays the results of each separate task that ran.
Downloading Job Logs
A job run can produce three separate logfiles:
-
Source: This file logs any communication with the source connector. Communications include connection issues, metadata retrieval, and errors that are related to raw-data retrieval.
-
Destination: This file logs any communication with the destination connector. Communications include connection issues, metadata retrieval, and errors that are related to bulk-data loading.
-
Replicate Engine: This file logs operations that are managed by the engine. Operations include communication with the CDATA_SYNC_STATUS table and the generated queries that are sent to the source and destination.
To download a job log:
-
Navigate to the Job History table.
-
Locate the run date of the log file that you want to download and review. Then, click the ellipsis that appears in the far right column of that row. (Note: The ellipsis is not visible until you position your cursor over the column.) The ellipsis provides two options:
-
Download Log File: This option opens a Downloads dialog box that enables you to log files that are associated with your job. Click Open file for the specific log that you want to download and review.
-
Run Details: This option opens a dialog box that displays two tabs:
-
Details: This tab displays the following details: Run Date, Status, Runtime, and Rows Affected.
-
Logs: This tab lists the logs that are available for your job. You can download individual logs here by clicking the download icon to the far right of the log name. You can also download all logs by clicking Download All Log Files.
-
-
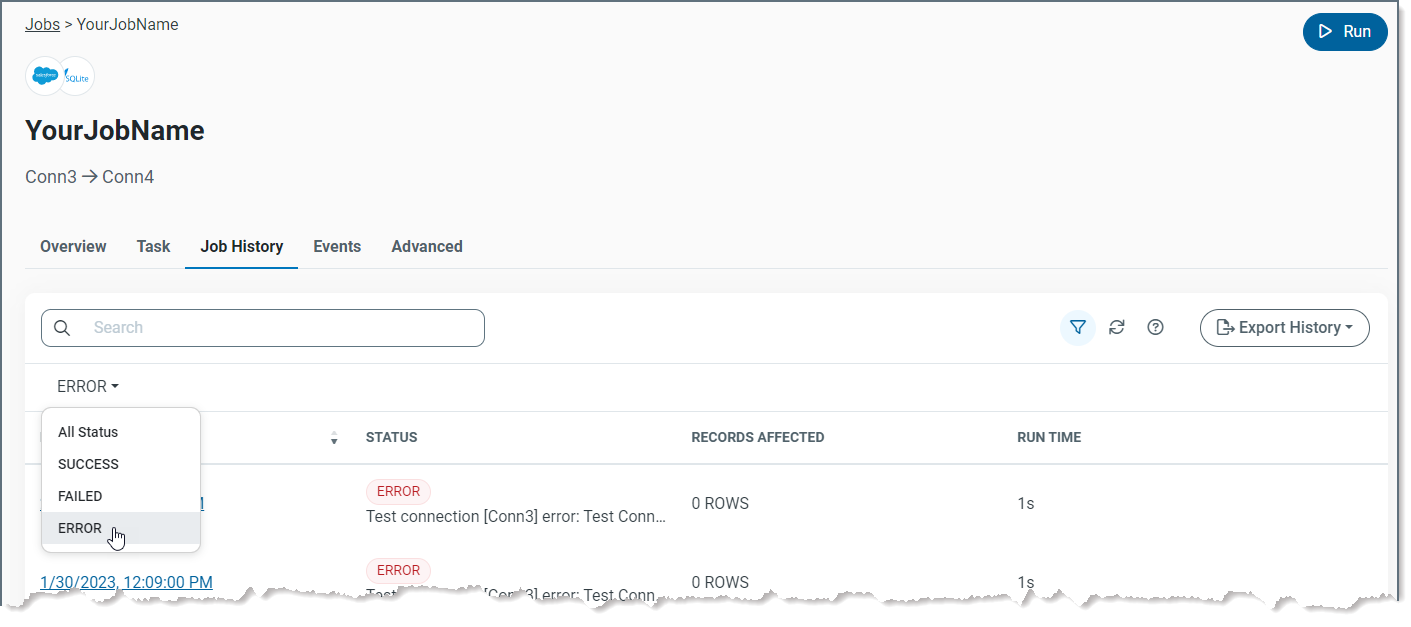
To see a table of log files with a specific run status (All Status, SUCCESS, FAILED, or ERROR), click Show Filter. This action displays the All Status menu at the top of the logs table, as shown below.
Archiving Logs
Sync enables you to archive logs, either in the same instance of Sync that is running (local disk) or in an Amazon S3 bucket.
To archive your logs:
-
Open Sync and navigate to the Clean-up Settings category on the Advanced tab. (Settings > Advanced).
-
Click the edit icon to set the properties that are listed below. (The edit icon is next to the documentation icon at the top right of that category.)
-
Type: Select Archive.
-
Retention Period (Days): Set the number of days that you want the log files to be held in the original directory. When this number expires, Sync archives these files.
-
Daily Clean-up Time: Specify the time that you want to run the cleanup job each day. If you want to run the cleanup job immediately, return to the Clean-up Settings category on the Advanced tab and click Run Clean-up.
-
Archive Type: Select either LocalDisk or S3, depending on where you want the archived logs to be stored.
-
If you select Local Disk, you need to specify where to store the files. In the Local Archive Folder field, specify the path on the server where you want to place the archived files.
-
If you select S3, specify the following settings:
-
S3 Bucket: Specify the name of your S3 bucket.
-
S3 Access Key: Specify the access key for your S3 bucket.
-
S3 Secret Key: Specify the secret key for your S3 bucket.
-
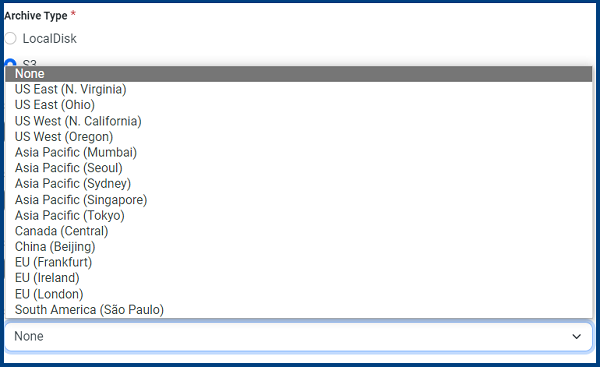
S3 Region: Specify the region where Amazon stores your bucket. Available values for this field are shown in this following image:
After you specify these settings, click Test Connection to verify that your S3 connection works.
-
-
-
-
Click Save to save your settings and return to the Advanced tab.