Connections
Version 23.4.8843
Version 23.4.8843
Connections
CData Sync comes pre-installed with a select list of popular sources and destinations. However, many more connectors are available to download from the CData website. You can download and install connectors directly from within the admin console, or you can manually install them in various ways as described below.
Install a Connector from within the CData Sync Application
To download a new connector from the CData website:
-
Open the Connections tab from the navigation bar.
-
Click Add Connection to open the Select Connectors page.
-
Select either the Sources tab or the Destinations tab, depending on which kind of connector you want to create.
-
Locate the connector that you want to add and click Configure Connection arrow that is displayed at the end of the row, as shown below:
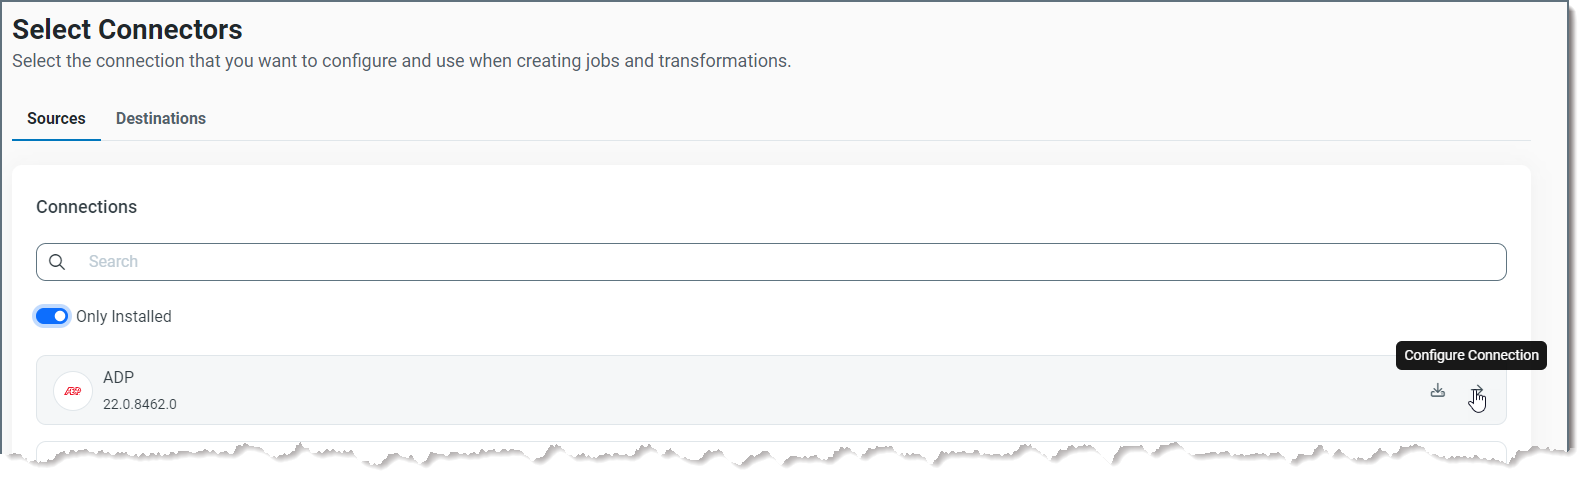
After the connector is downloaded, the Install Connector icon is replaced with the Configure Connection arrow.
![]()
To configure your connector, see Creating Connections.
Notes:
-
To update a connector that is already installed, select Update Connector > Download in step 3 (instead of Install Connector > Download).

-
To see a list of only connectors that are already installed, toggle the Only Installed switch to the right. (The switch is in the left corner above the connectors list.)
-
To configure your connector, see the specific connector documentation for your source or destination.
Install a Connector by Using the Local File System
In addition to installing a connector from Sync, you can manually install a new connector from a ZIP file that CData Technical Support can provide.
To install a connector from a ZIP file:
-
Open the Connections tab from the navigation bar.
-
Click Add Connection to open the Select Connectors page.
-
Select Install Connector > Upload to upload a ZIP file that contains the connector from the local machine (for example, a downloaded hot fix from CData Support).

When you select Upload, a navigation window opens so you can navigate to your file. Select your file and click Open to begin the uploading process.
After the connector is uploaded, the Install Connector icon is replaced with the Configure Connection arrow, as shown below:

Notes:
-
To update a connector that is already installed, select Update Connector > Upload in step 3 (instead of Install Connector > Upload).

-
To see a list of only connectors that are already installed, toggle the Only Installed switch to the right. (The switch is in the left corner above the connectors list.)
-
To configure your connector, see the specific connector documentation for your source or destination.
Install a Connector by Using a Batch File
The .NET Edition of Sync comes with a batch file (installprovider.bat) to manage the installation of new or updated connectors. To install a connector by using the batch file:
-
Open a command prompt and navigate to the installation directory:
cd C:\Program Files\CData\CData Sync -
Run the batch file with the name of the connector, the folder path to the downloaded zip file, and the
wwwfolder as arguments:.\installprovider.bat "Salesforce" "C:\User\myuser\Downloads\setup.zip" ".\www"
Install a Connector in the Cross-Platform Edition of CData Sync
To install a connector in the Cross-Platform Edition of Sync:
-
Extract the JAR file from the provided ZIP file.
-
Copy the JAR file into the
libsdirectory. The location of thelibsdirectory for the Cross-Platform Edition of Sync is as follows:-
Microsoft Windows:
C:\ProgramData\CData\sync\libs -
UNIX or Mac OS:
~/cdata/sync/libs
-
-
Restart the server.