Microsoft Power Apps
Version 22.0.8486
Version 22.0.8486
Microsoft Power Apps
This page outlines the steps to connect Microsoft Power Apps to the CData Connect Virtual SQL Server endpoint.
Prerequisites
Before you connect, you must first connect a data source to your CData Connect account. See Data Model for more information.
Note: To connect Microsoft Power Apps to CData Connect, your CData Connect instance must be hosted in an internet-facing server that is accessible to other entities through a stable URL (for example, myConnectInstance.cdata.com). If your instance of CData Connect is hosted locally and only accessible from a localhost address (for example, localhost:8080) or local network IP address (for example, 192.168.1.x), it will not be able to communicate with Microsoft Power Apps.
Connecting to CData Connect
To establish a connection from Microsoft Power Apps to the CData Connect Virtual SQL Server endpoint, follow these steps.
-
Log in to Microsoft Power Apps.
-
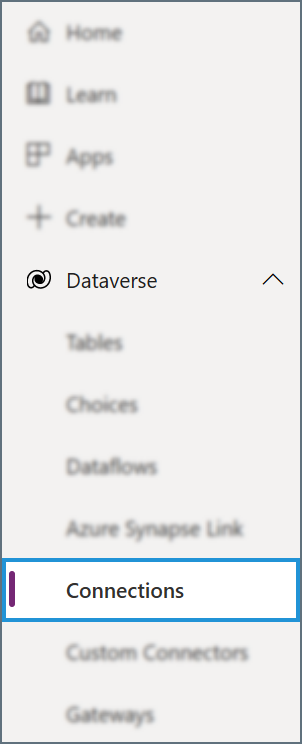
In the navigation menu, open Dataverse > Connections.
-
Click New connection to open the list of available connections.
-
Select SQL Server. In the modal that appears, select SQL Server Authentication.
- Enter the connection settings.
-
SQL server name—enter the URL from the Microsoft Power Apps connection modal in CData Connect.
-
SQL database name—enter the Connection Name of the CData Connect data source you want to connect to (for example, Salesforce1).
-
Username—enter your CData Connect username as defined on the Users page.
-
Password—enter the password for the user.
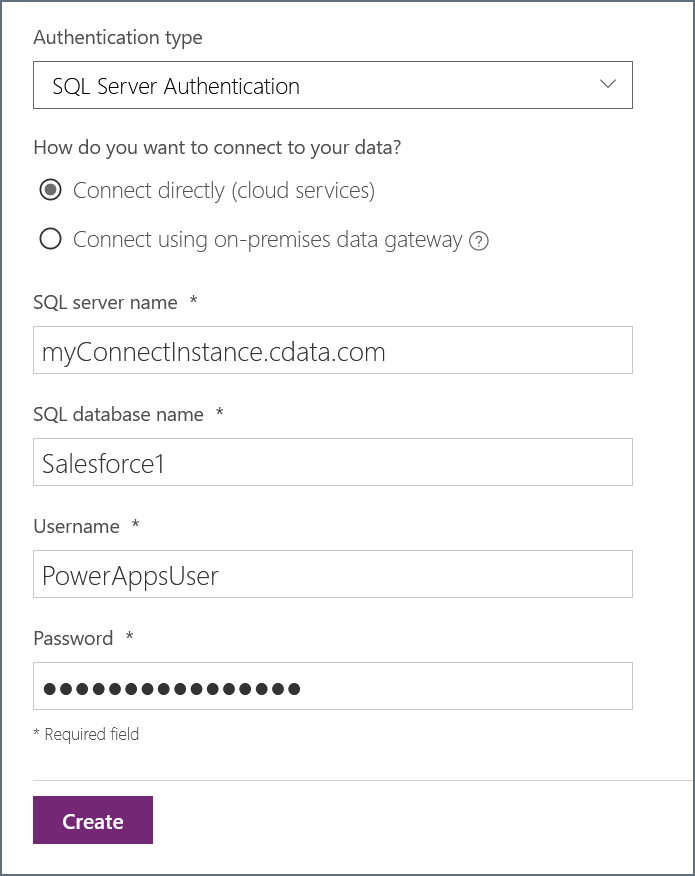
-
- Click Create to establish the connection.
Your connection now appears in your connection list. You can add more data sources from your CData Connect account by repeating this process and entering a different SQL database name.
Learn More
For more information about SQL Server connections in Microsoft Power Apps, please see Microsoft’s support article.