フローを作る
Version 22.0.8473
Version 22.0.8473
フローを作る
CData Arc でフローを管理するには、[管理]コンソールで[フロー] を選択して、[フローデザイナー]にアクセスします。
デザイナーのグリッドレイアウトが表示され、既存のコネクタがある場合はグリッド上にそれらのコネクタが視覚的に表示されます。ここから、フローに新しいポートを追加したり、フロー内の既存のコネクタを接続して並べ替えたり、デザイナーから既存のコネクタを設定したりできます。
デザイナーを表示しているときに、空いているスペースをクリックしたままドラッグすると、デザイナーを見やすい位置に調整できます。
デザイナーの右下隅には、選択したビューを拡大縮小したり、デザイナーのデフォルトのホームビューを選択したりできるスライダーがあります。
Note: スクロールホイール機能がある場合、このズーム機能はマウスからも利用できます。
フロー内にコネクタを作成
新しいコネクタをフローに追加するには、デザイナーの左側に表示されているリストから[コネクタ]のタイプを選択します。
選択したものをデザイナーに配置すると、新しいコネクタに名前を付けるように求められます。必ずコネクタが実行する操作を簡単に説明する名前を選んでください。
フロー内でコネクタを接続
デザイナーで既存のコネクタを並べ替えて接続するには、既存のコネクタをクリックしてドラッグしてグリッド上で移動し、希望する設定に並べ替えます。
コネクタを接続するには、次の図に示すように、コネクタの右側に付いている青いドットを選択して、それを接続されているコネクタの左側にある灰色のドットにドラッグします。

これにより、2つのコネクタ間に論理的なリレーションシップが作成されるため、最初のコネクタがメッセージまたはファイルを生成すると、接続されたコネクタに直接渡されて処理されます。
コネクタを別のコネクタに接続しなおすには、接続されているコネクタの左側に付いている青いドットを選択して、それを接続されていないコネクタに移動します。コネクタを切断したい場合は、接続されているコネクタからデザイナーの空いているスペースに青いドットをドラッグします。
フロー内でコネクタを設定
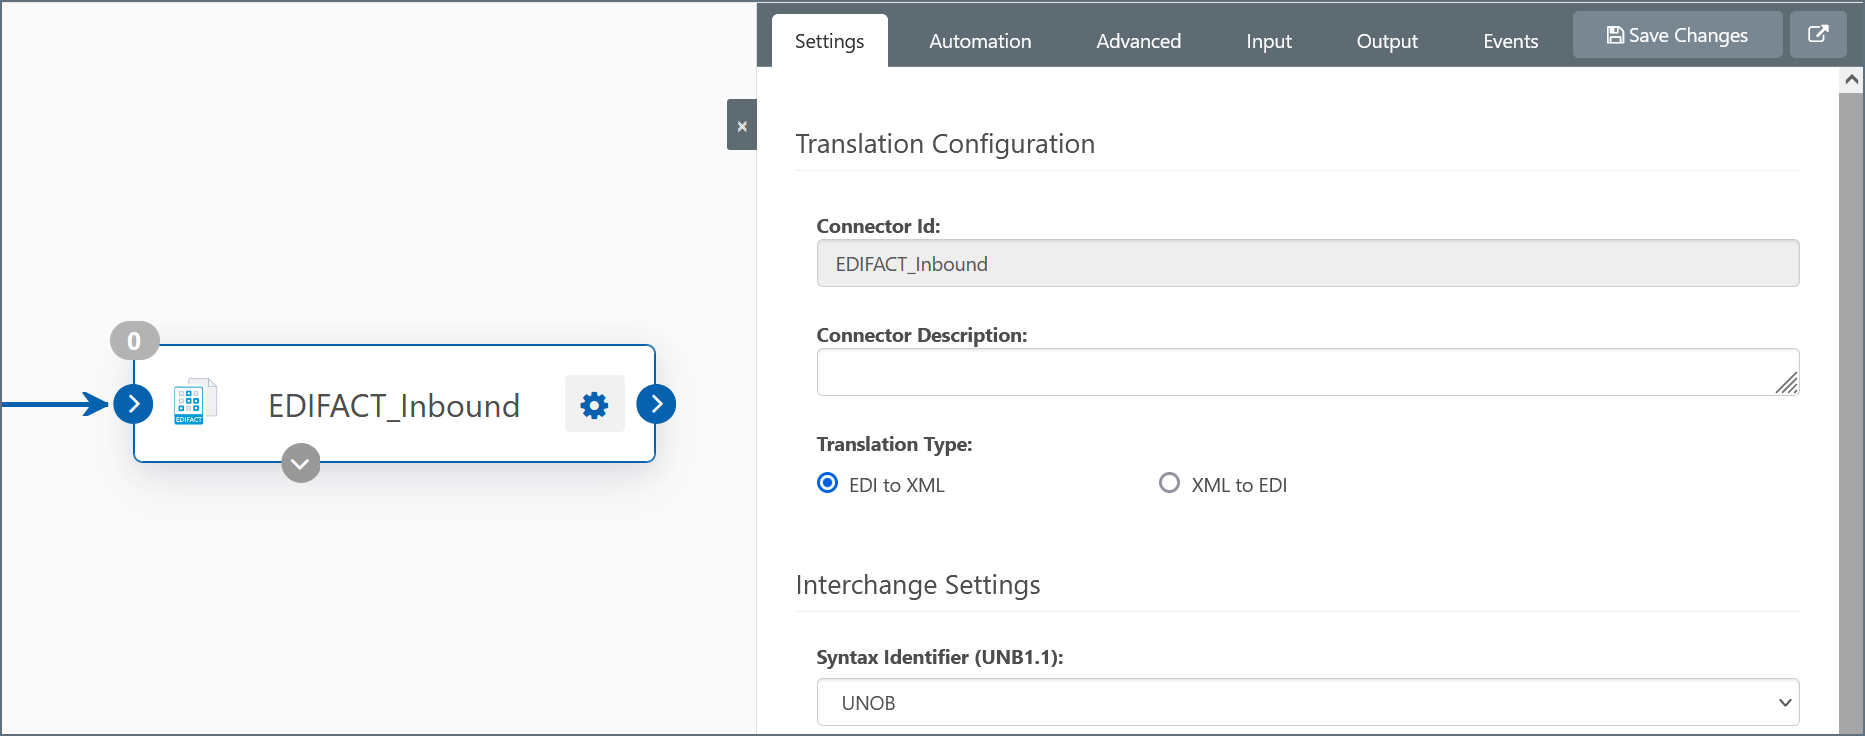
デザイナーから既存のコネクタを設定するには、次の図に示すように、コネクタ名の横にある歯車をクリックしてコネクタ設定ウィザードを開きます。

このタブから、[設定] およびオプションで[Advanced] タブからコネクタの設定を構成し、[送信] タブからコネクタ設定をテストできます。
コネクタ設定の変更が終わったら、パネルの左側にある四角い灰色のx を選択してコネクタ設定ウィザードを最小化し、スペースをデザイナーに戻すことができます。
マッピング
データソースには、受信データの処理方法と送信データのフォーマット方法をそれぞれコネクタに指示する、インプットマッピングおよびアウトプットマッピングがあります。データを処理するときに、フィールド検索、フラグの更新などを行うようにコネクタを設定できます。
インプットマッピングは、受信メッセージをデータソースに処理するために使用されます。
- +記号アイコンをクリックしてインプットマッピングを追加します。
- Mappings テーブルのアイコンを選択して、マッピングを編集、コーディング、実行、または削除します。
Best Practices
Most Flows have a connector at which data enters the Flow and a connector at which data exits the Flow. For some cyclical Flows, the entry and exit point may be the same connector.
For example, data may enter the Flow at an AS2 Connector when an external trading partner sends a business document over AS2. The data from this business document may need to be imported into a back-end system like a database. In this case, the AS2 Connector and the Database Connector are the entry and exit points for the Flow.
When creating a new Flow, it is often easiest to start with these entry and exit connectors. Then, “work inwards” by adding more connectors to the Flow that fill in the steps between the entry and exit point (e.g. add connectors that transform an inbound AS2 payload into a database insert).
Interacting with the Local File System
CData recommends using the File connector when configuring a Flow that interacts with the local file system. This is especially important for folders that are shared with external monitoring processes. Guidelines for file pickup and file drop-off are outlined below.
File Pickup
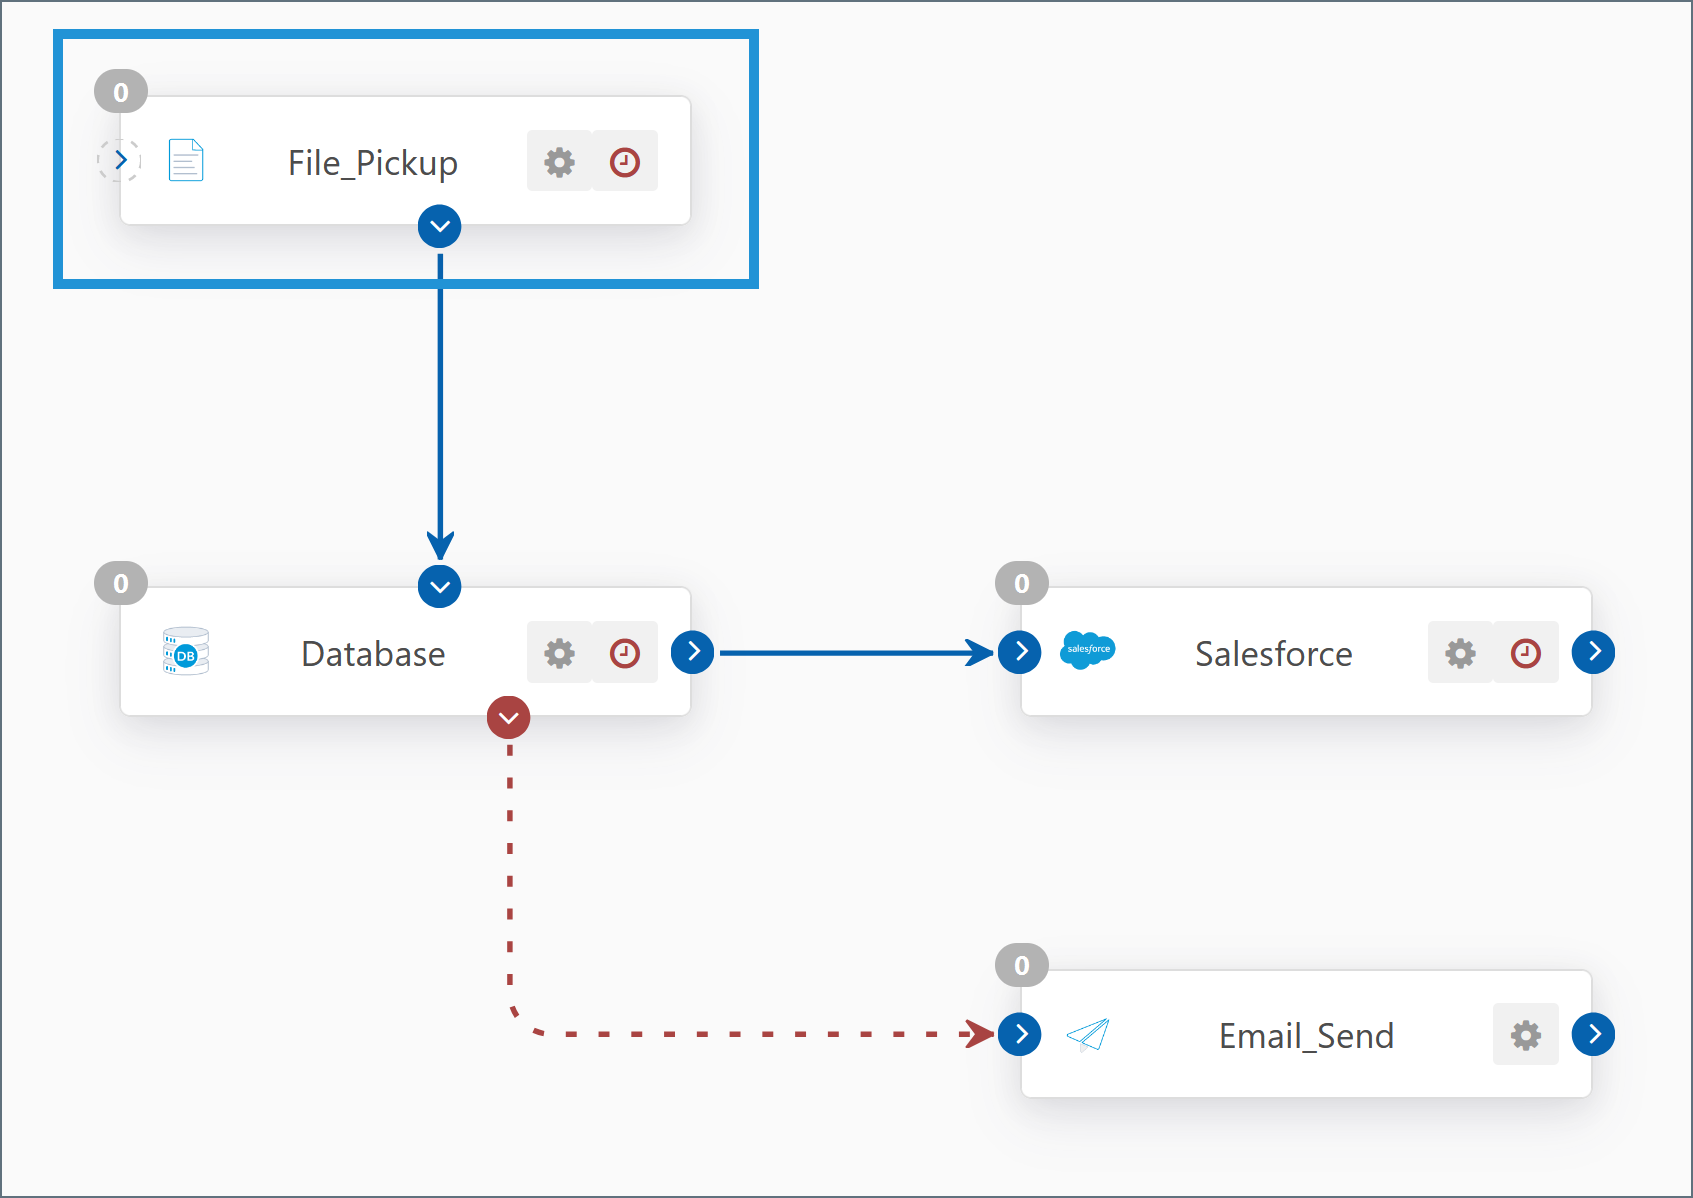
To monitor a directory for files that will be processed in Arc, add a File connector at the beginning of your Flow as shown below:

Configure the connector according to these steps:
-
Open the Settings tab for the connector.
-
Set the Path property of the connector to the directory that you want to monitor.
-
Configure the File Mask property with the file pattern that you want to perform a listing for.
-
To avoid reprocessing files that have already been picked up, configure one of these two options according to what works best for your Flow:
- In the Receive section, check the box for Delete files (after received). This option deletes files after they have been processed.
- Alternatively, under Caching, check one or both caching options to maintain file size and/or timestamp record of files that have been processed. The application skips cached files but does not delete them.
-
Open the Automation tab.
-
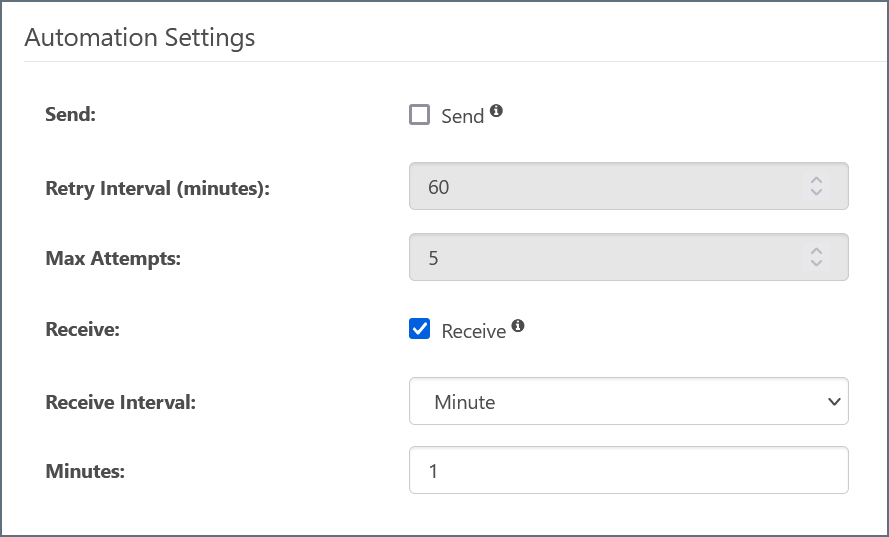
Disable Send automation.
-
Enable the Receive automation and set the desired polling interval for the directory.

File Drop-Off
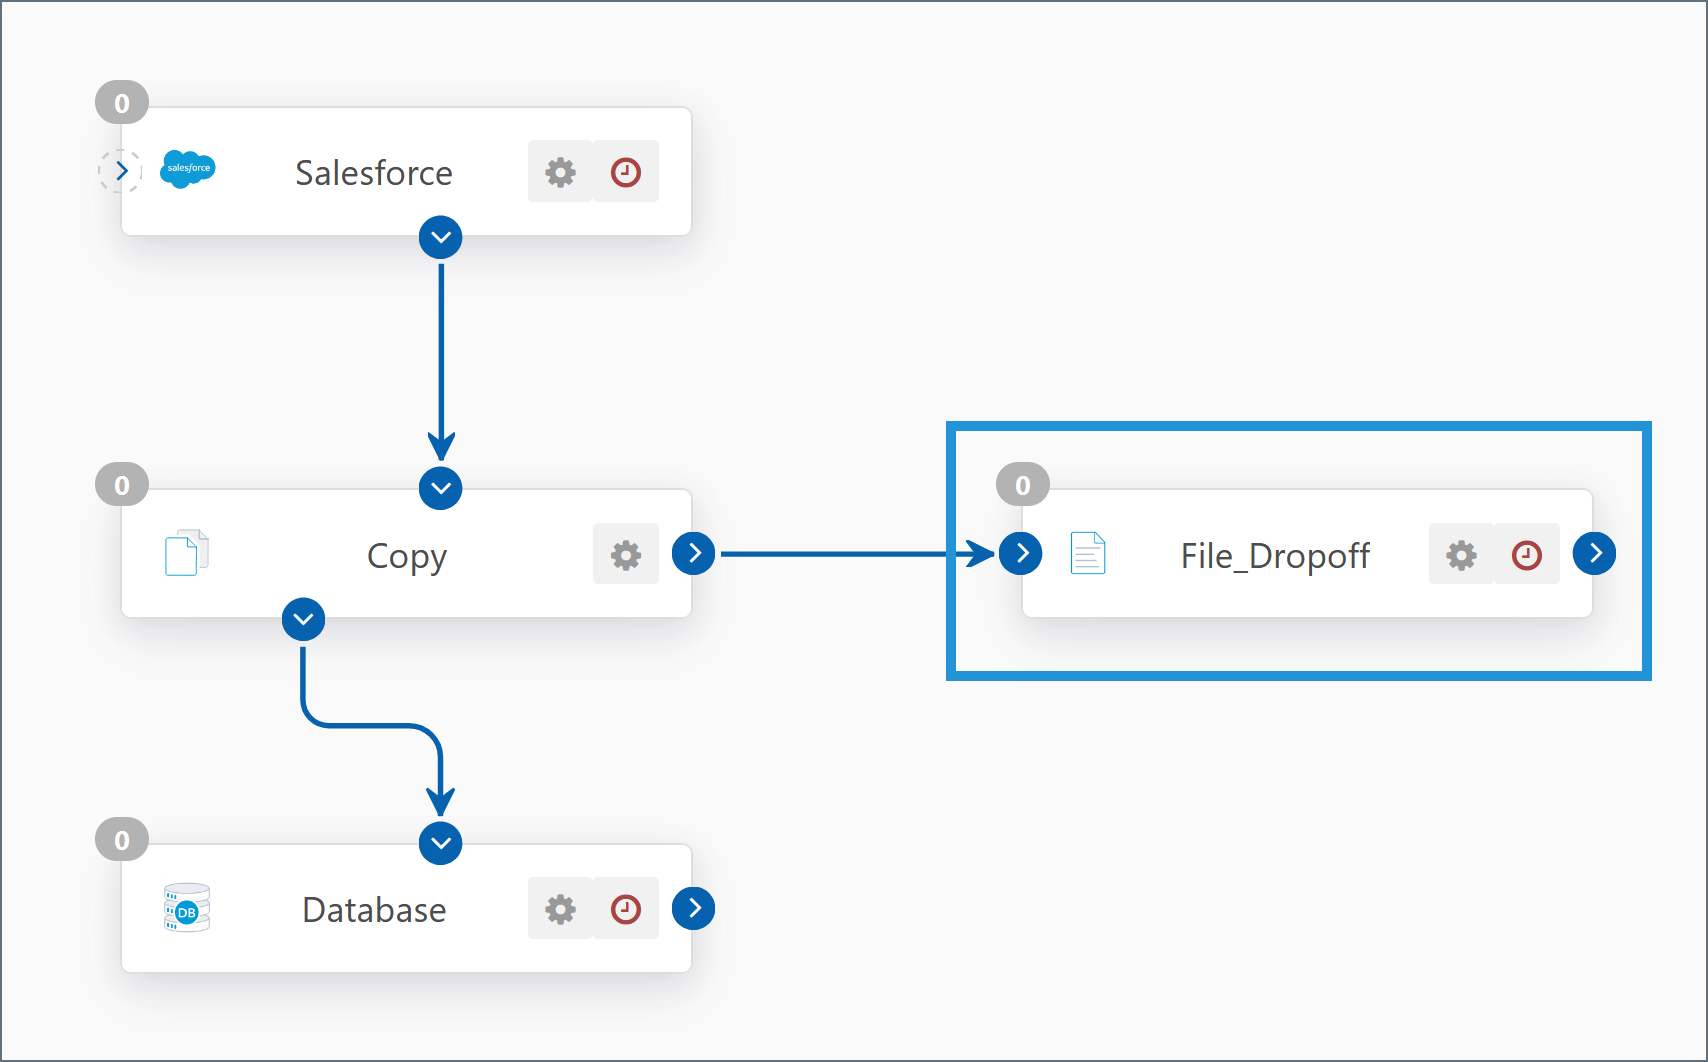
To drop off processed files to the local file system, add a File connector to the end of your Flow as shown below:

Configure the connector according to these steps:
-
Open the Settings tab for the connector.
-
Set the Path field to the directory where you want to drop off files. You can use macros to dynamically resolve paths based on date and time; highlight the Path field in the connector settings for more information.
-
Open the Advanced tab.
-
Set the desired Overwrite Option to handle files that already exist in the destination path.
File Transfer Connectors are Partner-Specific
Connectors that send or receive files over the network (e.g. AS2, AS4, FTP, SFTP, OFTP, etc) are bi-directional, but are configured for a single trading partner (i.e. a single remote party). In other words, a single AS2 Connector could both send and receive AS2 messages with Amazon, but it could not also send or receive files with Walmart.
Many MFT (Managed File Transfer) connectors require setting up a Profile to exchange files. The Profile page contains a tab for configuring application-wide settings for each supported protocol. For example, the information configured in the AS2 Profile is used in all AS2 Connectors, and partner-specific AS2 connection details are configured within each AS2 Connector.
Use a Naming Convention for Connectors
Connectors should always be given a descriptive name that communicates the role of the connector within the Flow.
- The name of a Managed File Transfer connector (e.g. AS2, AS4, FTP, SFTP, OFTP, etc) should indicate the remote party with whom files will be exchanged, and the protocol over which the exchange will occur. For example: Walmart_Production_AS2
- The name of an EDI connector (e.g. X12 and EDIFACT) should indicate the name of the partner with whom the EDI document is exchanged, the direction of translation, and the format of the document. For example: Walmart_X12_Outbound
- The name of a Data Mapping connector (e.g. XML Map) should indicate the format/schemas that the connector is mapping from and mapping to. For example: Map_850_to_Orders
- The name of a Back-End Integration connector (e.g. Database, MySQL, CData) should indicate the specific back-end system and the table within that back-end system (if applicable). For example: PostgreSQL_Orders_table
Use XML for Data Transformation
Arc uses XML as an intermediary format for data manipulation and transformation. Many connectors translate files of various formats into XML and vice versa (e.g. the X12 Connector, EDIFACT Connector, CSV Connector etc). Additionally, Arc uses XML to model back-end system input and output (e.g. SELECTS and INSERTS into database-like systems).
Since most source and destination formats can be represented as XML, data transformation Flows often have the following structure:
- A connector that pulls or receives data in its original (source) format
- A connector that converts this source format into XML (if it is not already XML)
- An XML Map Connector that transforms this source XML into a new structure representing the target (destination) format
- A connector that converts this transformed XML into the destination format (if a non-XML format is required)
- A connector that sends the finalized file to its intended destination
The XML Map Connector is the engine that performs the critical work in these data transformation Flows. Becoming comfortable with data transformation is often a matter of familiarizing oneself with the XML Map Connector’s visual designer.
Organize Flows into Workspaces
Multiple separate Flows can be configured within the same Flows canvas without risk of cross-contamination, but dividing Flows into different Workspaces can help reduce clutter and maintain organization.
The cogwheel in the top-right of the Flows page can be used to create new workspaces, import or export workspace configuration settings, and delete the current workspace (except for the Default workspace). Only the connectors from the current workspace are displayed at any given time.
Connectors in different workspaces cannot be connected to each other, and the data and configuration files specific to these connectors are held in separate folder structures.
アウトプットマッピングは、オートメーションセクションで指定された受信ポーリング間隔でエクスポートされるデータを定義します。
- +記号アイコンをクリックしてアウトプットマッピングを追加します。必要に応じて、[実行]をクリックしてすべてのテンプレートを実行するか、[リセット]をクリックして処理された行のリストをリセットします。
- Mappings テーブルのアイコンを選択して、マッピングを編集、コーディング、実行、または削除します。