Connections
Version 25.3.9411
Version 25.3.9411
Connections
After you deploy CData API Server, you need to define the connection to your data store from the API Server administration console. API Server supports connecting to relational databases, file stores, and back-end services such as other APIs. In addition, API Server is pre-populated with a collection of popular drivers and providers (also called connectors).
Warning: To avoid security vulnerabilities, only establish connections to services you trust.
The intuitive interface on the Connections page in API Server simplifies the process of setting up your connections. From this page, you can perform the following tasks:
Understanding the Connections Page
Before you perform any of the tasks listed previously, you need to understand the Connections page. The table on this page summarizes your connections and enables you to manage them from a single access point.
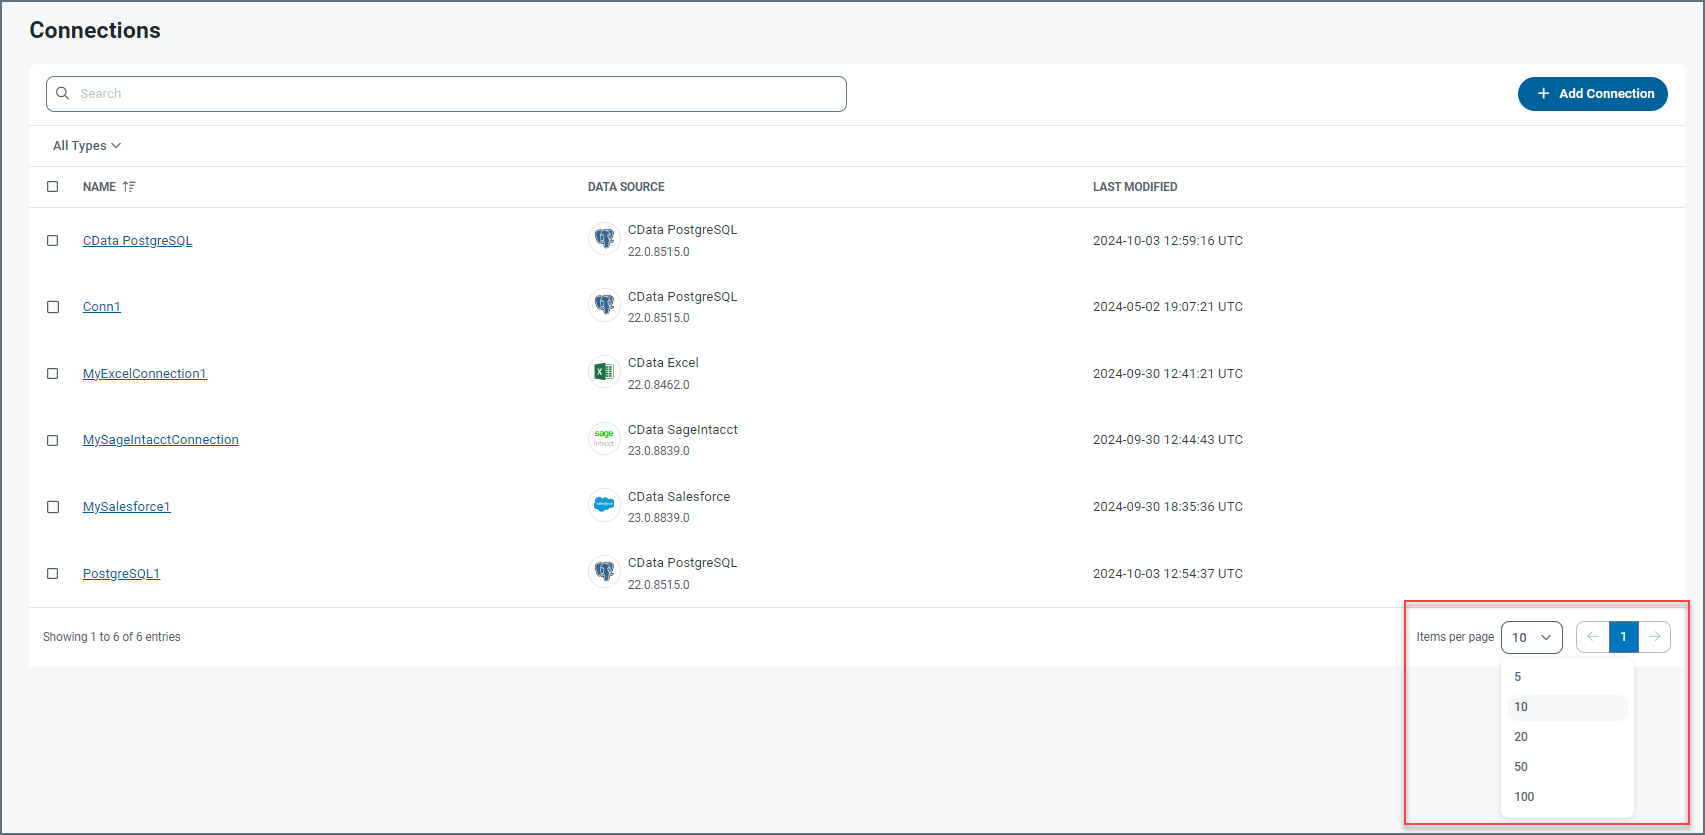
The connection records are displayed in rows, with columns that provide details about each connection. As shown above, you can specify the number of rows that you want to display on the page by selecting a number from the Items per page list at the bottom of the page.
API Server provides details about your connections in three columns:
-
NAME - Displays the connection name.
-
DATA SOURCE - Displays the specific connector name as well as the version number for that connector.
-
LAST MODIFIED - Specifies the date and time that you last updated your connection.
If you click a connection name, API Server displays the Settings page for that connection.
If you click the checkbox to the left of a connector, you can delete the connector or deselect the checkbox, as shown below.
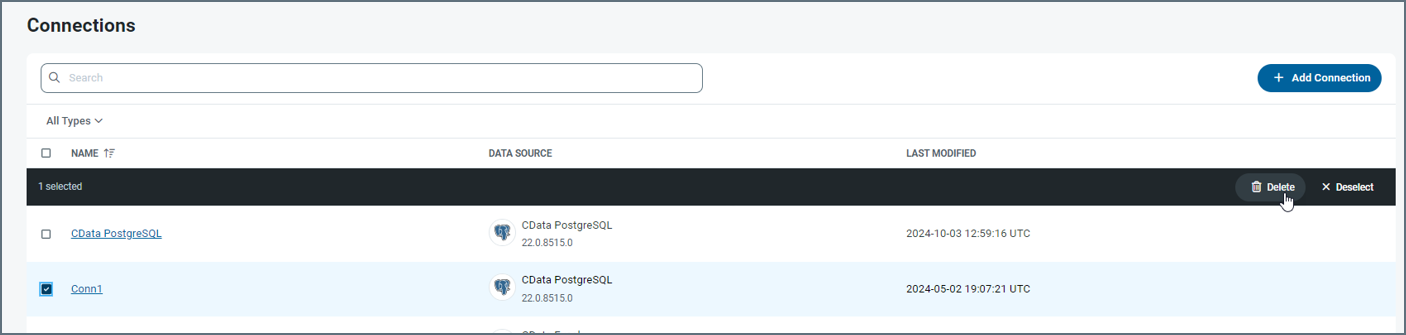
To select the entire list of connectors for deletion, select the checkbox to the left of the NAME column header.
You can organize your connections table in ascending or descending order on the NAME column. To order the columns, simply click the up (▲) and down (▼) arrows that are to the rightn of NAME.
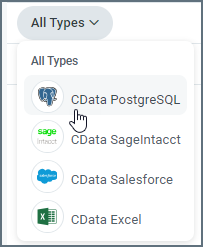
In addition, you can filter the connections table by connection type.
To add a filter:
-
Click the All Types list at the top left of the connections table. Choose your filter options.
-
Select the connection type by which you want to filter, as shown in this example:
After you select a connection type, only connections of that type are displayed in the table, as shown below:
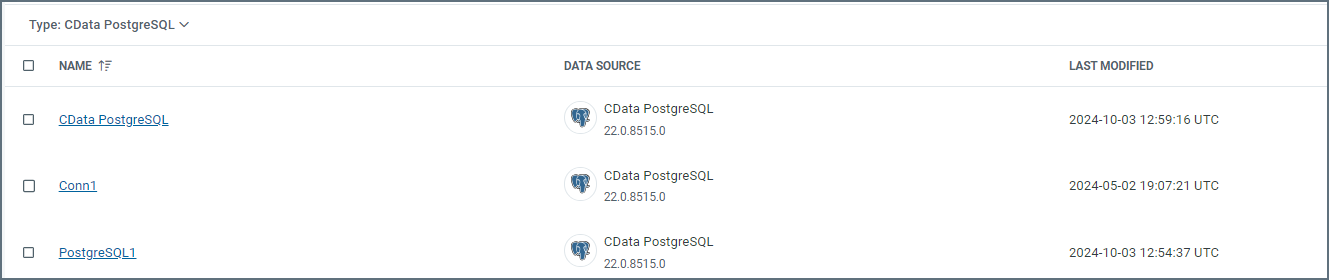
To return to a table that displayes all of your connections, click All Types at the top of the filter list.
Adding and Updating a Connection
You can add (install) a connection either automatically or manually. The following sections explain how to add a connection via each of these methods.
Install a Connector Automatically
To download a new connector from the CData website:
-
Open the Connections tab from the navigation bar.
-
Click Add Connection to open the Select Connection page.
-
Locate the driver or provider that you want to add and click the Install Connector icon (
 ) that appears at the end of the connector row. Clicking the icon opens the Install Connector dialog box.
Note: If the driver or provider that you want is not in the installed-connections list, slide the Only Installed toggle switch (above the Connections list) to the left to display a list of all available drivers and providers.
-
Select Automatic install. Then click Install.
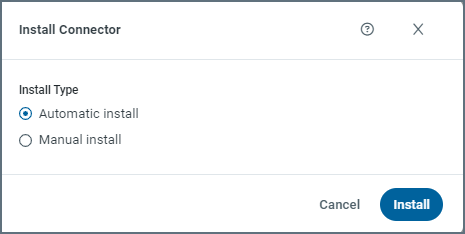
If the installation is successful, a message to that effect appears at the top of the Install Connector dialog box.
After the connector is downloaded, the ![]() icon becomes an Update Connector icon, and a Configure Connection arrow is displayed. To update the connector, simply click the Update Connector icon.
icon becomes an Update Connector icon, and a Configure Connection arrow is displayed. To update the connector, simply click the Update Connector icon.
Install a Connector Manually
In addition to installing a connector from API Server, you can manually install a new connector from a ZIP file that CData Technical Support can provide.
To install a connector from a ZIP file:
-
Open the Connections tab from the navigation bar.
-
Click Add Connection to open the Select Connection page.
-
Locate the driver or provider that you want to add and click the Install Connector icon (
) that appears at the end of the connector row. Clicking the icon opens the Install Connector dialog box. Clicking the icon opens the Install Connector dialog box.Note: If the driver or provider that you want is not in the installed-connections list, slide the Only Installed toggle switch (above the Connections list) to the left to display a list of all available drivers and providers.
-
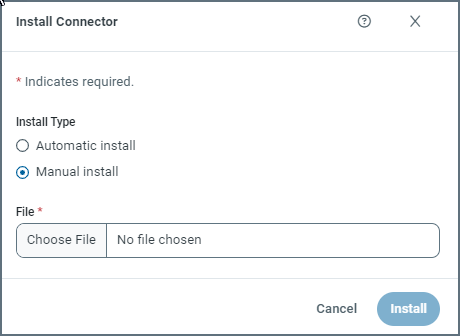
Select Manual install.
-
Click Choose File and then select the ZIP file that you want to install. Then click Install.
If the installation is successful, a message to that effect appears at the top of the Install Connector* dialog box.
After the connector is downloaded, the ![]() icon becomes an Update Connector icon, and a Configure Connection arrow is displayed. To update the connector, simply click the Update Connector icon.
icon becomes an Update Connector icon, and a Configure Connection arrow is displayed. To update the connector, simply click the Update Connector icon.
Configuring a Connection
To configure a connection:
-
In the API Server application, locate your connection on the Select Connection page.
-
At the right end of the connector row, click the Configure Connection icon (
 )
) -
Specify basic connection properties on the Settings tab of your connector’s page. Then, if necessary, configure advanced settings on the Advanced tab.
-
Click Save & Test to create your connection.
Editing a Connection
To edit a connection:
-
In the API Server application, locate your connection on the Select Connection page.
-
Access the Edit Connection page in either of these ways:
-
Click the name of the connector in the table on the Connections page to open the Edit Connection page.
-
Click the Configure Connection icon (
) that appears at the end of the row of your connection. This action also opens the Edit Connection page.
-
-
Edit any properties that you want to change on the Settings tab or the Advanced tab.
-
Click Save & Test to create your connection.
Removing a Connection
To remove a connection from the table on the main Connections page:
-
Open the Connections page.
-
Click the Delete icon (
 ) at the end of the connector row that you want to delete. This action opens the Delete Connection dialog box.
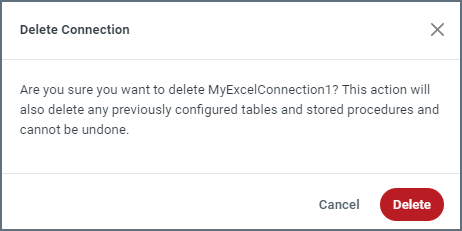
-
Click Delete to remove the connection permanently.