Configuring a Flow
Version 22.0.8215
Configuring a Flow
Version 22.0.8215
To start creating Flows in CData Arc, navigate to the Flows tab at the top of the administration console.
From this page, you can create new data flows, manage existing flows, and import sample flows, which are available on our website.
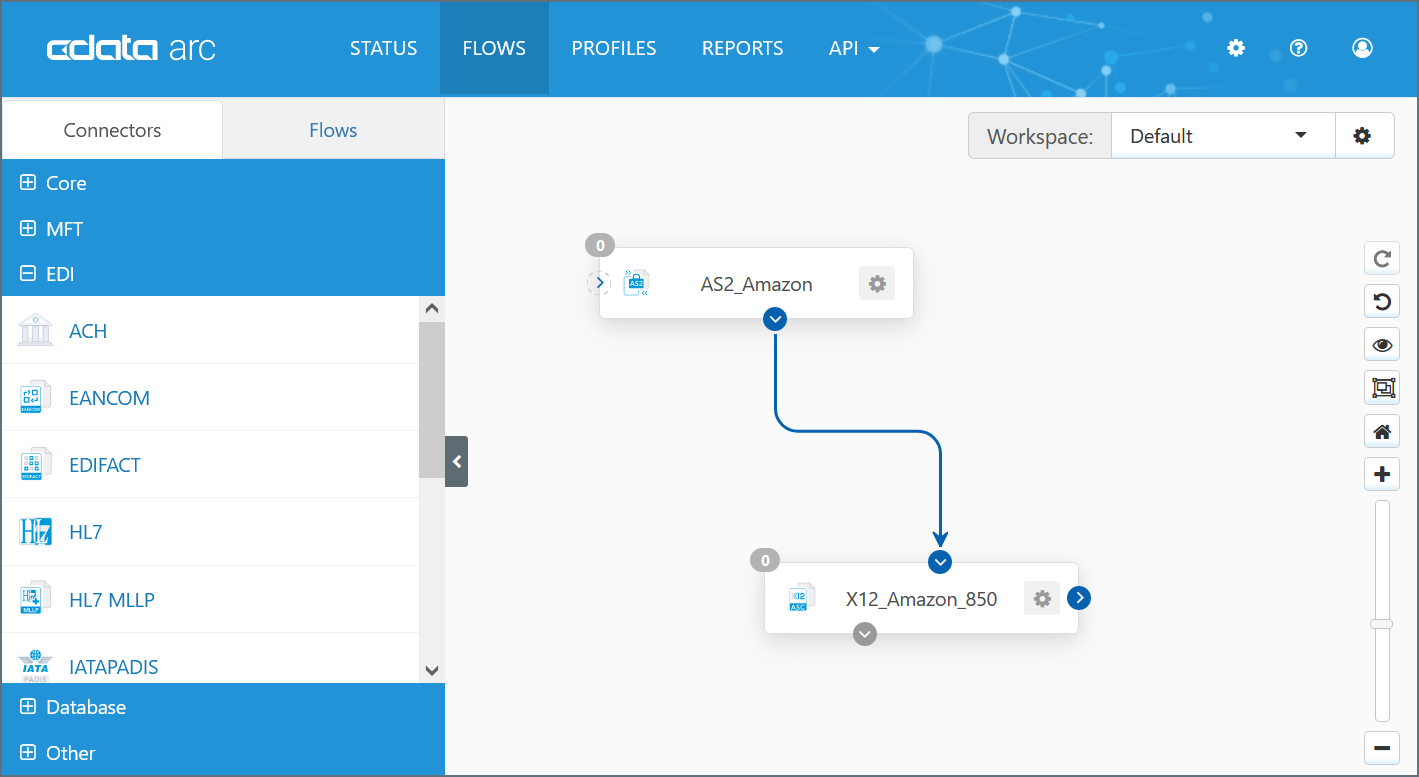
The panel on the left side of the page contains a list of installed Connectors, each of which perform a specific data operation. These operations include sending and receiving files over a specific network protocol, converting files into different formats, and integrating with a specific back-end system like a database.
Drag and drop a Connector into the Flow canvas to create an instance of that Connector. Connectors in the canvas can be connected to each other by dragging the arrow on the right side of one Connector onto the empty bubble on the left side of another Connector. When connected in this way, files are automatically passed from one Connector to the next, creating an automated logical process.
Right-clicking a configured connector in the flow brings up the following options:
- Delete Connector to delete the connector.
- Show Error Path to view the error path, which is indicated by a red dot on the connector. The error path visualizes how files that throw an error should be routed.
- Export Connector Settings to export connector settings from the current server as a zipped file (named ‘ConnectorID.zip’).
- Copy Connector to create a copy of the configured connector with a new Connector ID.
- Split Send/Receive to visually separate the receiving function of the connector (i.e. processing inbound files) from the sending function (i.e. outbound files). This does not affect the connector configuration.
More details on the specific Connectors within a flow can be found in the Connectors section.