Job Configuration
Version 22.0.8483
Version 22.0.8483
Job Configuration
After you start the server, you need to create connections and jobs. This document provides step-by-step instructions to help you create both.
Creating Connections
After you log in, you need to configure connections to the sources and destinations with which you want to work. For details about how to establish a connection to a particular source or destination, see Connections.
To create a connection, follow these steps:
-
Click Connections from the menu in the admin console.
-
Under Add Connection, click the tile for the source that you want to use.
-
Enter settings for your connection on the Connections Settings page:
-
Enter a name for your connection. The name is used to refer to this connection when you create a job. If you have multiple
connections for the same source or destination, choose a name that describes the purpose of the connection. -
Enter authentication details and other connection properties. For more details about each connector type, see Sources and Destinations.
-
-
Click Test Connection to ensure that the connection configuration is correct. If the test fails, check your configuration
settings to ensure that they are correct. Then, retest the connection. -
Click Save Changes to save the connection configuration.
Creating Jobs
After you create the connections that you need, you can configure your first job and schedule it according to your needs. Later, you can configure notifications that enable you to monitor jobs easily. In addition, you can view your logs and job history to obtain more information or to troubleshoot errors.
To create a job, follow these steps:
-
Navigate to the Jobs page and click Add Job. This action opens the Create New Job modal where you can enter job information.
-
Enter a job name and select the source and destination connections. (Note: Job names must not include illegal characters. Hover the cursor over the Job Name field to see which characters are illegal.)
Then, click Create.
-
Navigate to the Tables tab and click Add Tables to include any tables in your job. From the Jobs page, you can also set your job to run on a schedule, set API triggers, create email notifications, and more.
-
Click Save Changes and return to the Jobs tab to Run your Job.
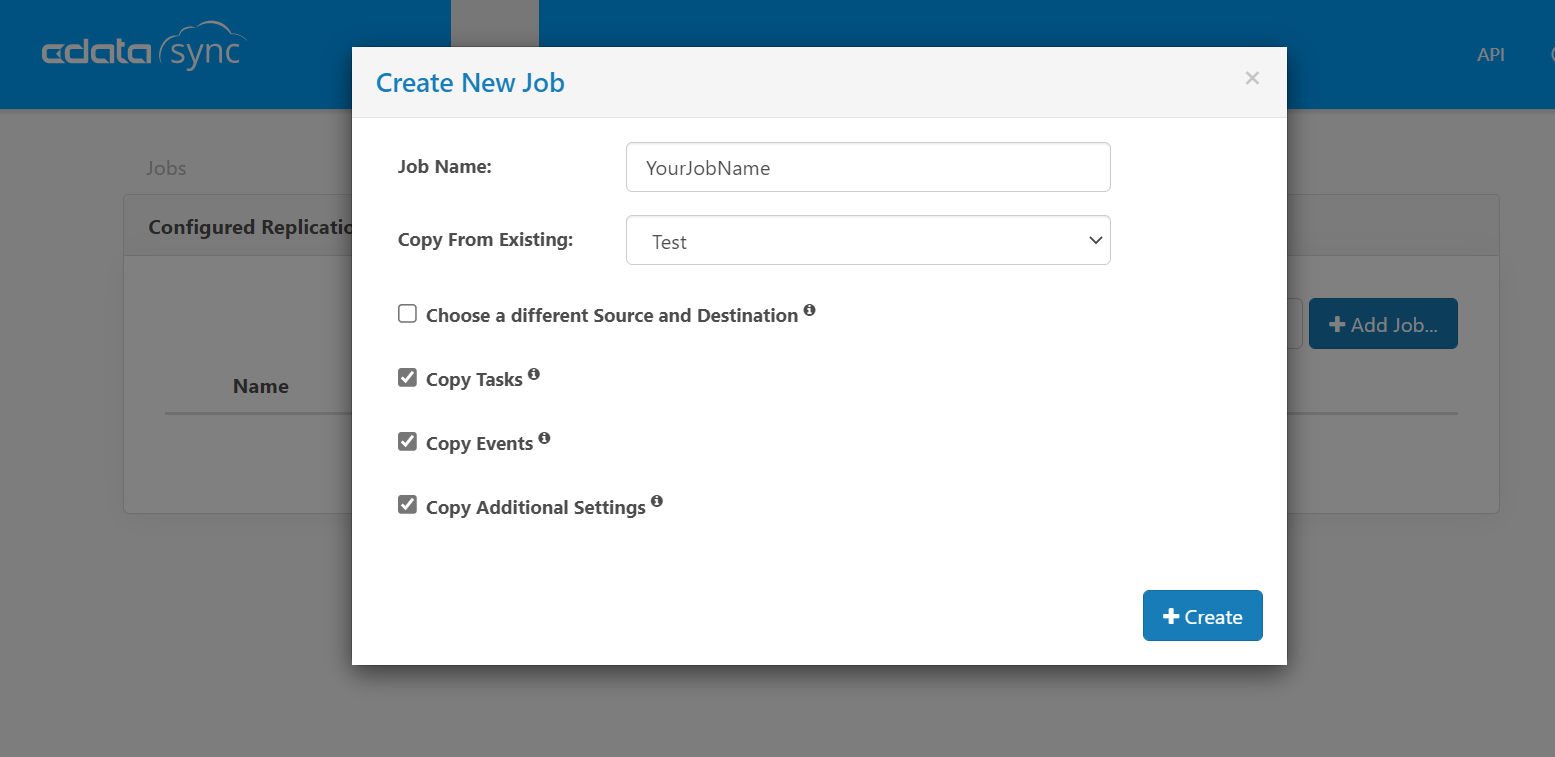
As an alternative, you can create a new job by using an existing job as a template, as follows:
-
Navigate to the Jobs page and click Add Job. This action opens the Create New Job modal where you can enter job information.
-
Click the Create From Existing Job tab in the model. In the modal, name the job, and select the appropriate job from the Copy From Existing drop-down menu.

-
Select (or deselect) the options that you want (Choose a different Source and Destination, Copy Tasks, Copy Events, and Copy Additional Settings).
-
Click Create to create the job.
After you create a job, you can configure notifications that enable you to monitor the job easily. In addition, you can view the job’s logs and job history to obtain more information or to troubleshoot errors.
For more information about jobs, see Jobs.
Contact
If you have questions or comments, contact us here.