Creating a Service Principal App in Entra ID (AzureAD)
Creating a Service Principal App in Entra ID (Azure AD)
Note: Microsoft has rebranded Azure AD as Entra ID. In topics that require the user to interact with the Entra ID Admin site, we use the same names Microsoft does. However, there are still CData connection properties whose names or values reference "Azure AD".
Microsoft Dataverse supports Service Principal-based authentication, which is role-based. This means that the Service Principal's permissions are determined by the roles assigned to it. The roles specify what resources the Service Principal can access and which operations it can perform.
If you want to use a Service Principal to authenticate to Microsoft Dataverse, you must create a custom application in Microsoft Entra ID.
To enable Service Principal authentication:
- Confirm that you have permission to register applications and assign roles in your tenant.
- Register a new application and configure credentials and permissions in the Entra Admin Center.
Registering the Application
- Go to https://portal.azure.com.
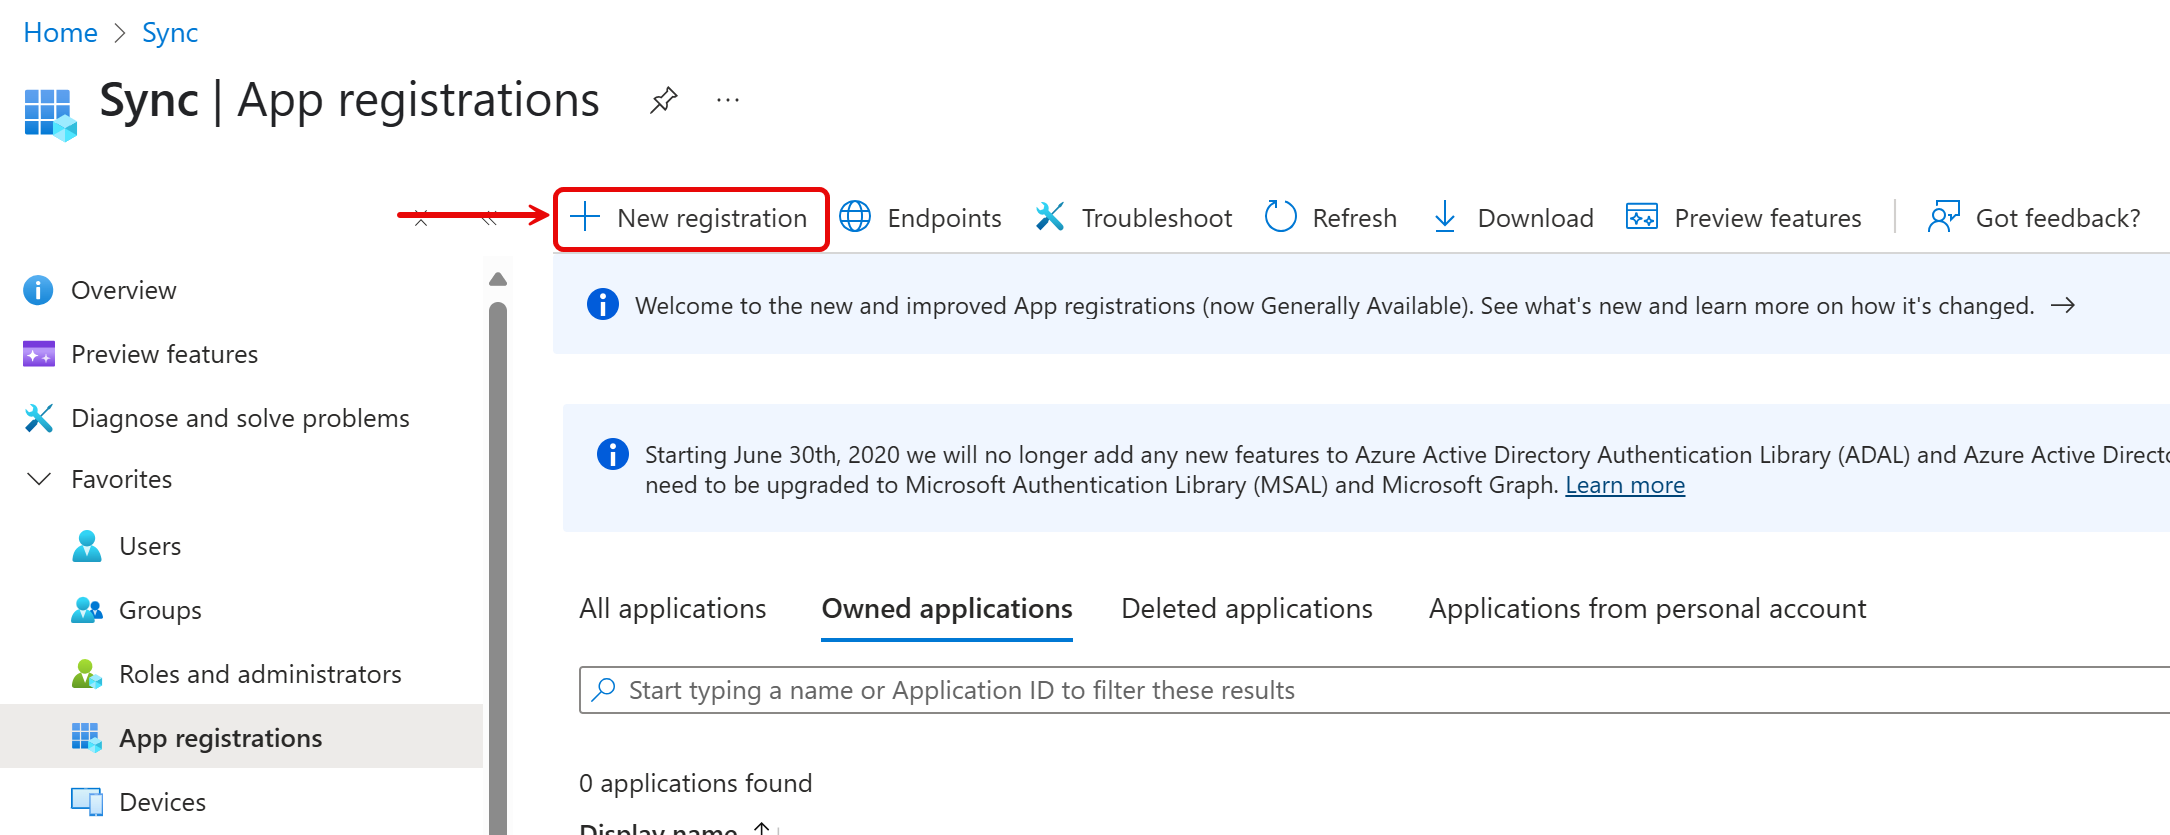
- In the left-hand navigation pane, select Microsoft Entra ID > App registrations.
- Click New registration.
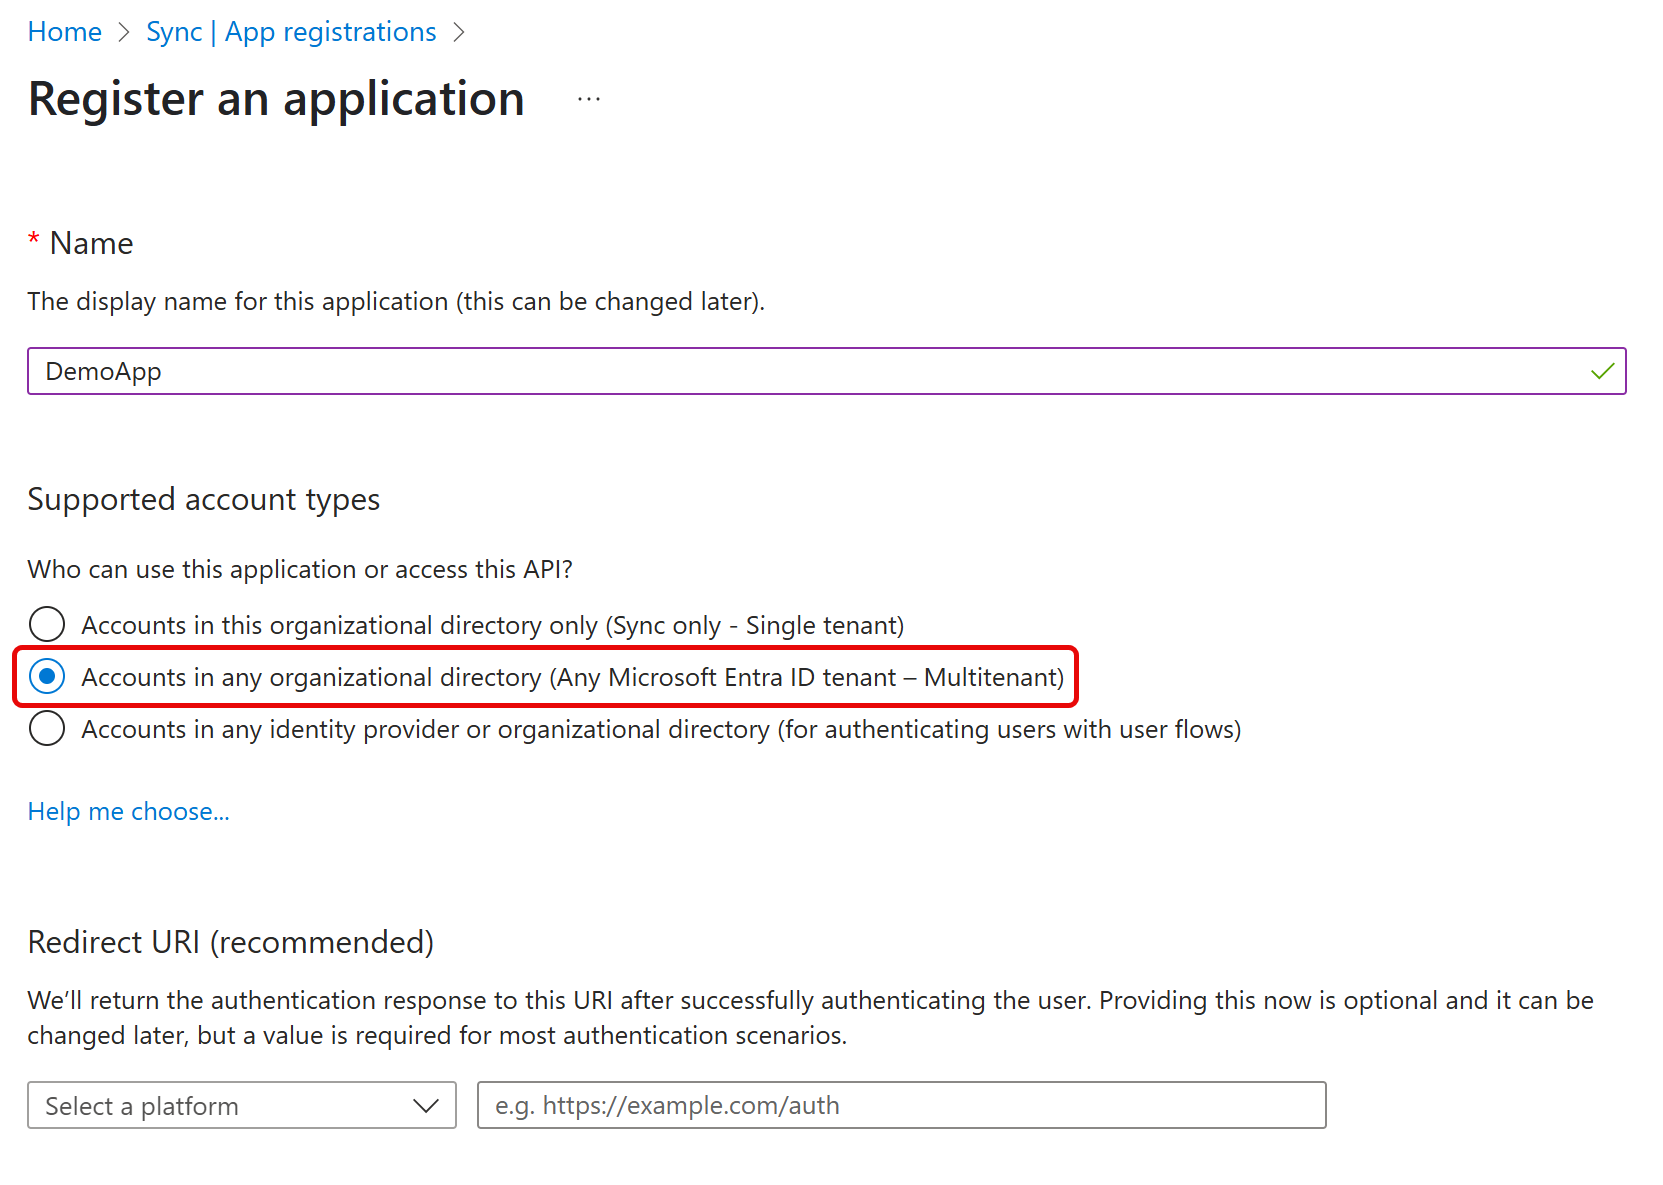
- Enter a name for the application.
- Select the desired tenant setup. Since this custom application is for Service Principal use, choose Any Microsoft Entra ID tenant – Multitenant.
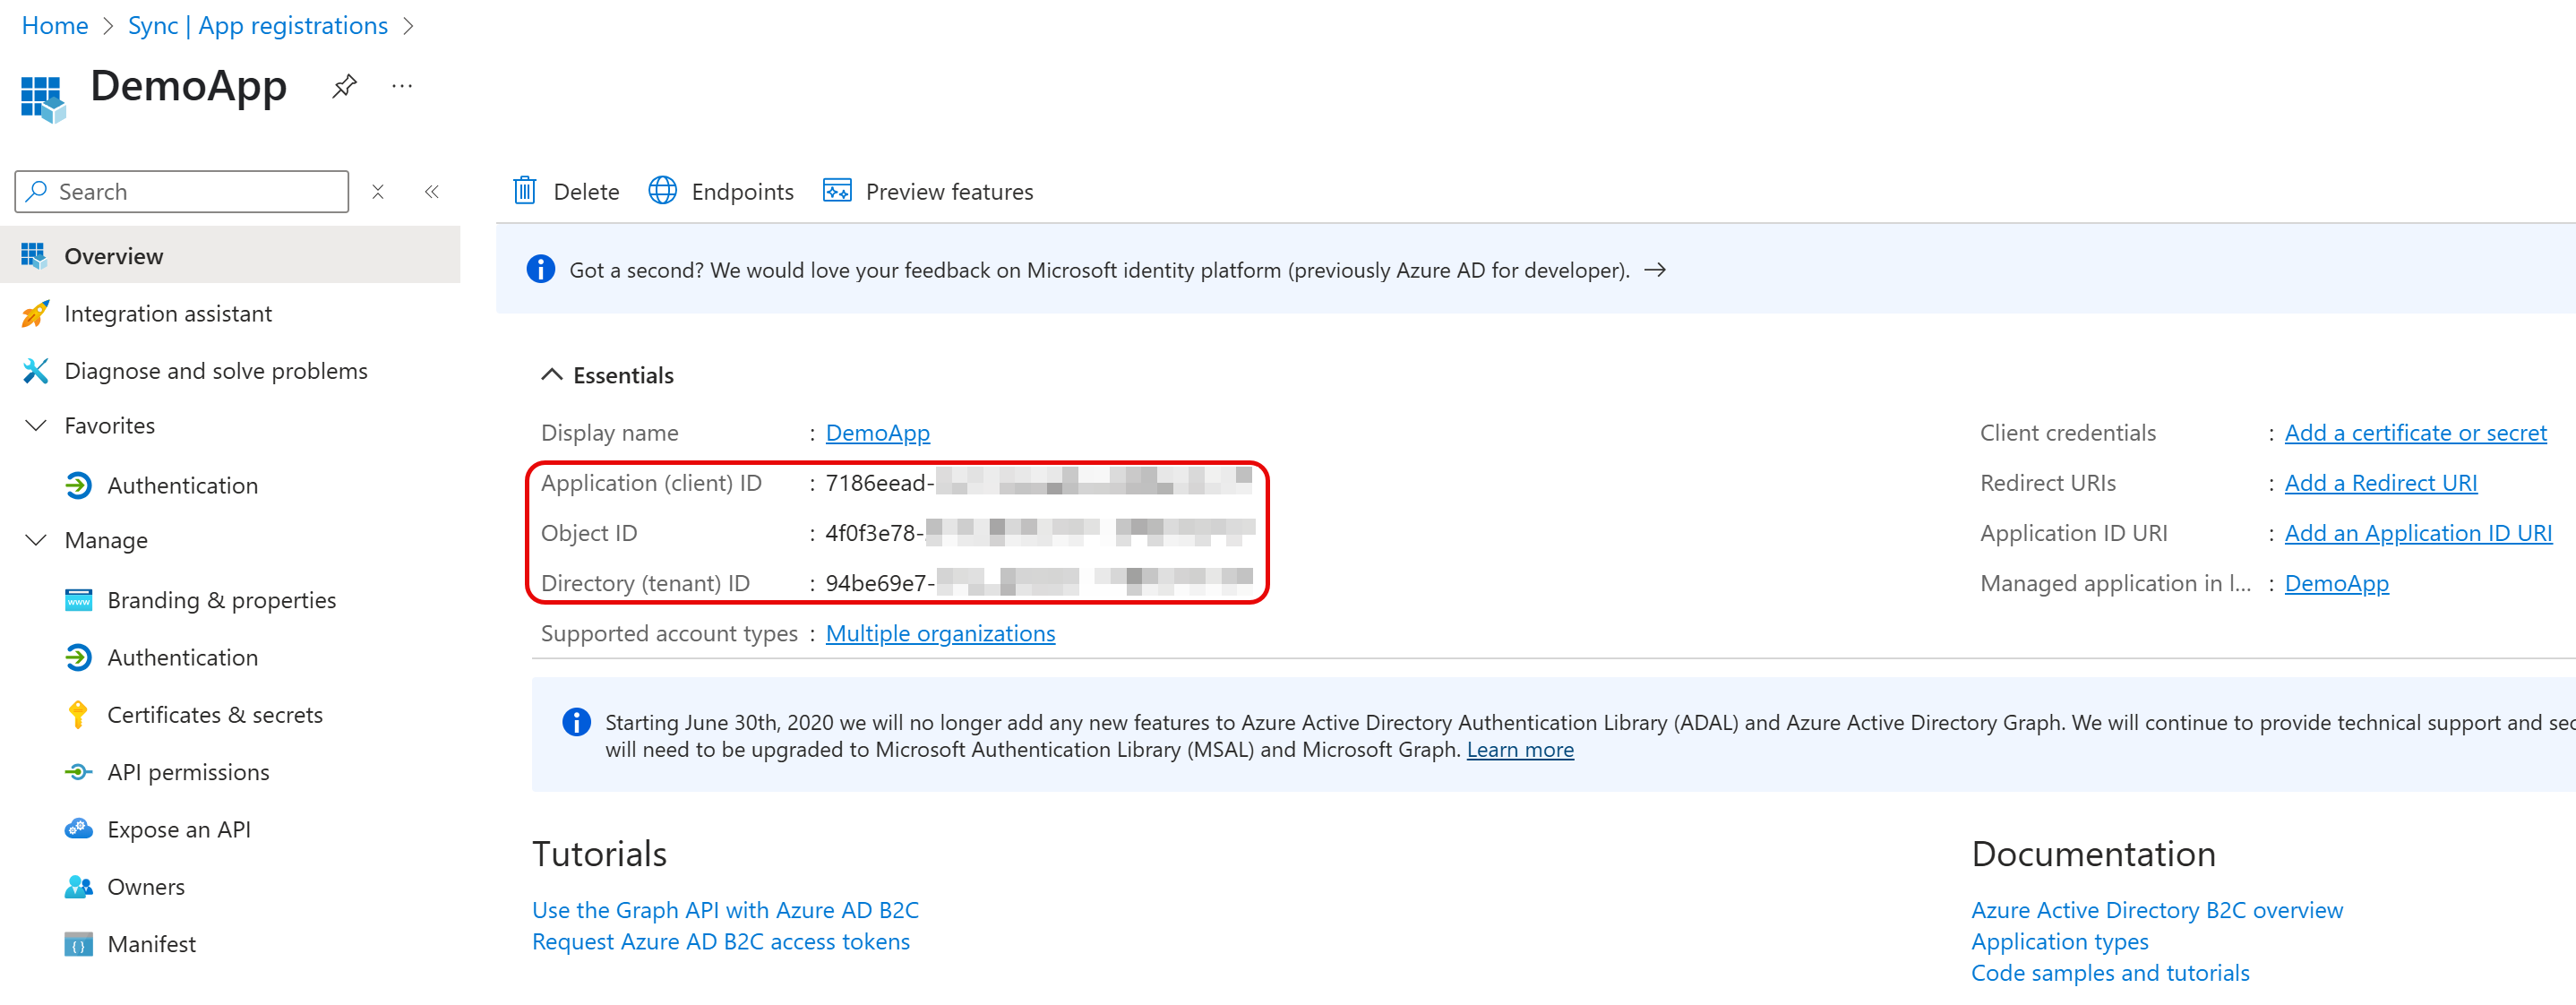
- Click Register. The application management screen opens. Note the value in Application (client) ID as the OAuthClientId and the Directory (tenant) ID as the AzureTenant
- Under Select an API, select the Dynamics CRM Online permissions if authenticating from a Desktop app, or select the Dynamics CRM Online permissions if authenticating from web apps or headless machines.
- Navigate to Certificates & Secrets and define the application authentication type. Two types of authentication are available: certificate (recommended) or client secret
- For certificate authentication: In Certificates & Secrets, select Upload certificate, then upload the certificate from your local machine. For more information on creating a self-signed certificate, see Create a self-signed certificate
- For creating a new client secret: In Certificates & Secrets, select New Client Secret for the application and specify its duration. After the client secret is saved, Microsoft Dataverse displays the key value. This value is displayed only once, so be sure to record it for future use. Use this value for the OAuthClientSecret
- Navigate to Authentication and select the Access tokens option.
- Save your changes.
Consent for Client Credentials
OAuth supports the use of client credentials to authenticate. In a client credentials authentication flow, credentials are created for the authenticating application itself. The authentication flow acts just like the usual auth flow, except that there is no prompt for an associated user to provide credentials. All tasks accepted by the application are executed outside of the context of a default user.Note: Since the embedded OAuth credentials authenticate on a per-user basis, you cannot use them in a client authentication flow. You must always create a custom OAuth application to use client credentials.
- Log in to https://portal.azure.com
- Create a custom OAuth application, as described above.
- Navigate to App Registrations.
- Find the application you just created, and open API Permissions.
- Select the Microsoft Graph permissions. There are two distinct sets of permissions: Delegated and Application.
- For use with Service Principal, specify Application permissions.
- Select any additional permissions you require for your integration.